Which Memory Card do I need for my Samsung LG K10 Smartphone?
Make sure you purchase the right Memory Card for your Smartphone. Your LG K10 built-in memory is 16GB. Users who demand more memory from their Phone can install an external microSD or microSDHC (High-Capacity) memory card with a maximum capacity of 32 GB. Do NOT buy an SD Card or microSDXC you need the microSD version! Many microSD Cards come with an SD Card adapter for compatibility with SD-enabled devices, such as cameras, camcorders and (notebook) computers. Memory cards usually come pre-formatted and do not need to be formatted out of the box.
We recommend storing multimedia files (such as music, videos and pictures) on an external memory card in your device to free up your device’s internal memory for applications. Plus, if you buy a new Smartphone, you can simply put your external memory card in your new device and all your data is back immediately.
The SD Association defines standard speed classes indicating minimum performance to record video. The class indicates the minimum writing speed: Class 2 = 2 MB/s, Class 4 = 4 MB/s, Class 6 = 6 MB/s, Class 10 = 10 MB/s. A fast Class 10 card is the best option these days, especially for recording or playing Full HD video.
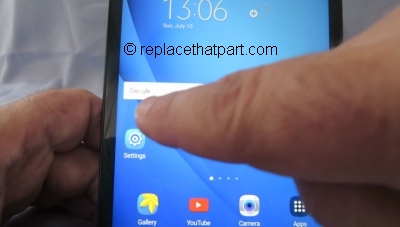
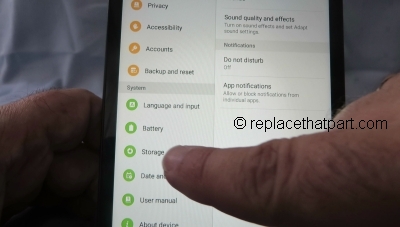
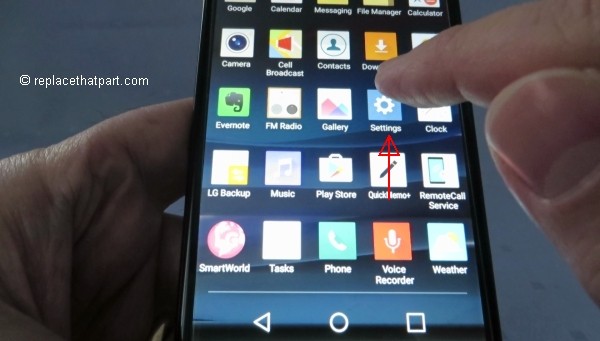
MicroSD cards are usually shipped preformatted with the FAT file system. Your LG K10 supports only the FAT file structure. If you insert a card formatted with a different file structure, your device will ask you to reformat the memory card. Formatting your memory card on a PC may cause incompatibilities with your device. Format the memory card only on the device: Drag down the notification bar and tap the Settings icon at the top-right. Tap General > Storage. Tap Erase SD card > Erase SD card. If prompted, enter security code > Next. Tap Erase SD card to erase.
Popular memory cards for this Smartphone include, but are not limited to: Samsung EVO 32GB Class 10 Micro SDHC Card with Adapter (MB-MP32DA/AM) and SanDisk Ultra 16GB Ultra Micro SDHC UHS-I/Class 10 Card with Adapter.
A. Insert a Memory Card
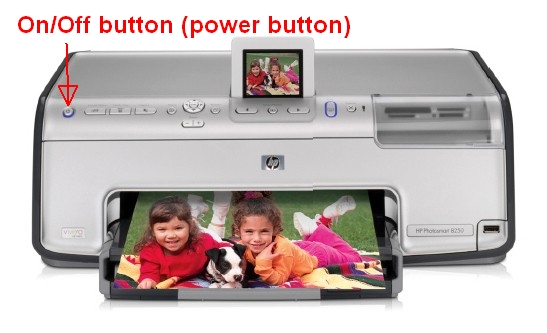
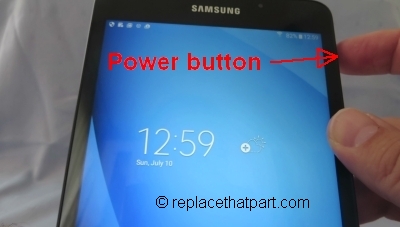
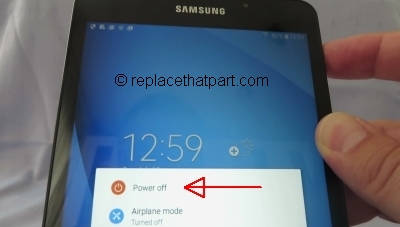
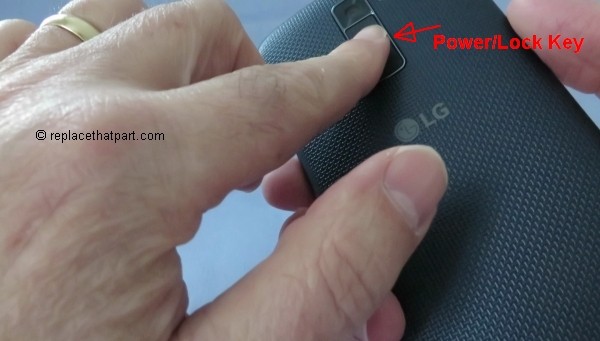
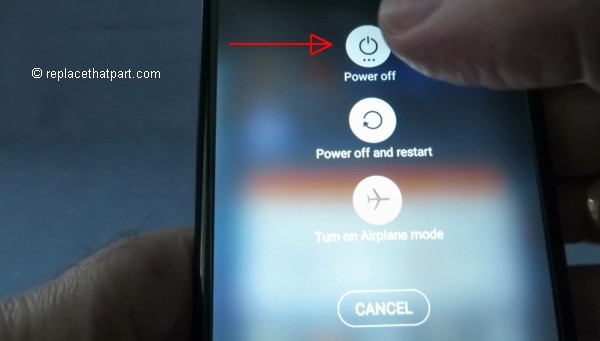
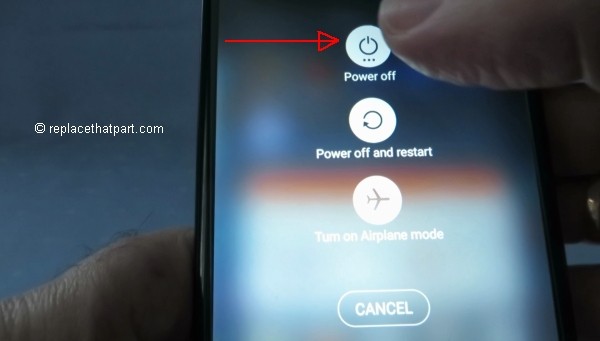
1. Turn off the power so that you won’t lose any stored information. If the device is on, press and hold the Power/Lock Key on the back of the phone until the Phone options menu appears. Tap Power off in the Phone options menu. Tap OK to confirm that you want to turn off the phone.
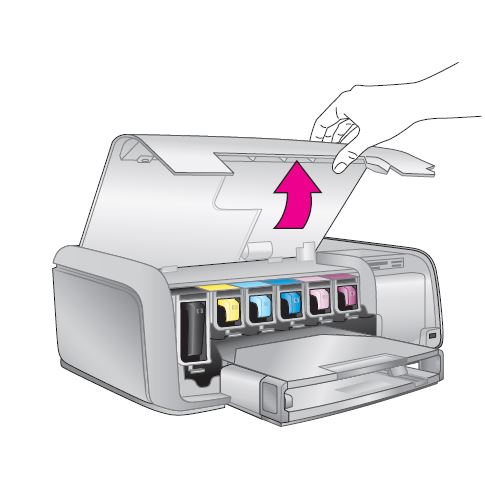
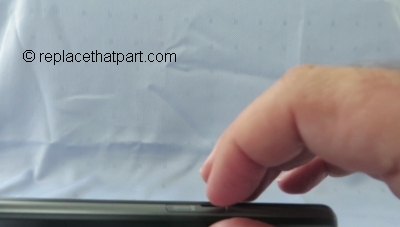
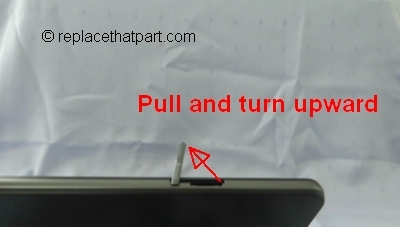
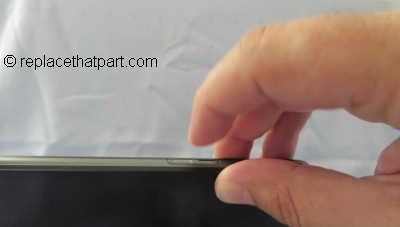
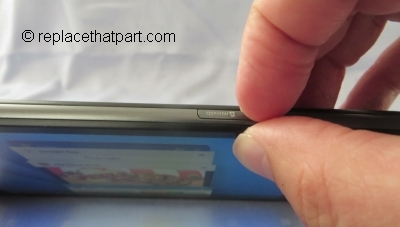
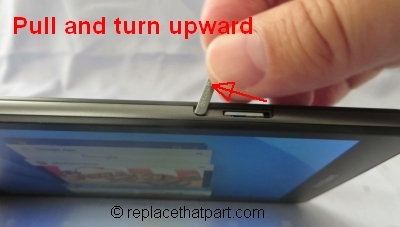
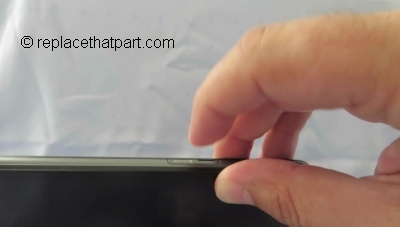
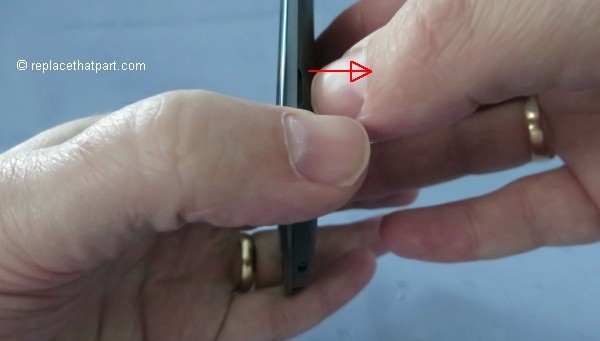
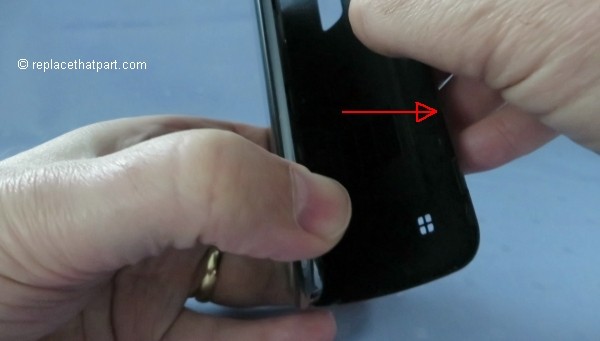
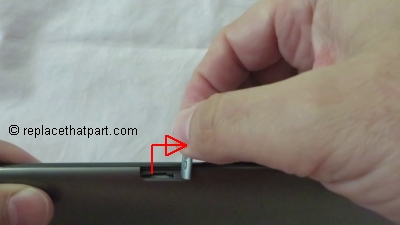
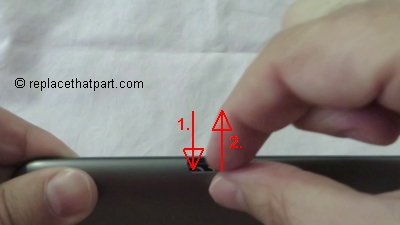
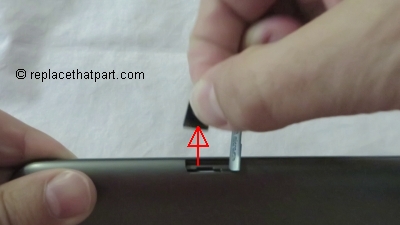
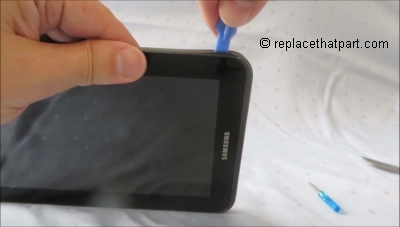
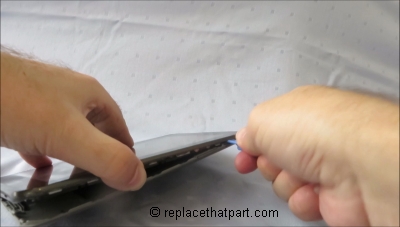
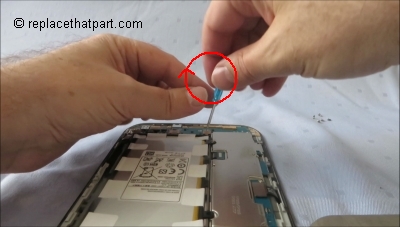
2. Remove the back cover. Hold the device in one hand and find the small notch that will help you to release the cover. It’s on the the bottom-right corner of the phone. Insert a fingernail into the notch. Lift upwards gently to pop the phone open. Working from the bottom-right corner upwards and then lifting the back cover seems to work well. Be careful not to damage your fingernails when you remove the back cover. Also, be certain not to bend or twist the back cover excessively. Doing so may damage the cover.


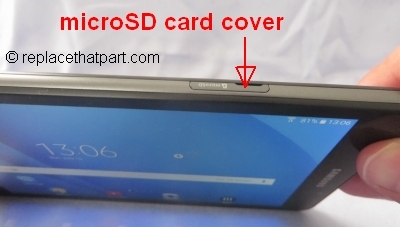
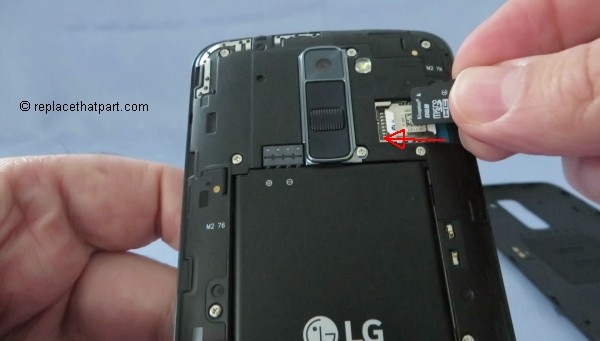
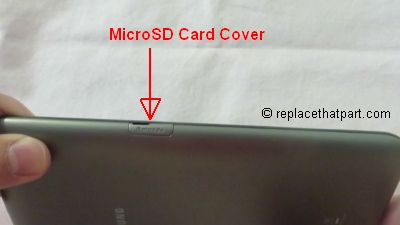
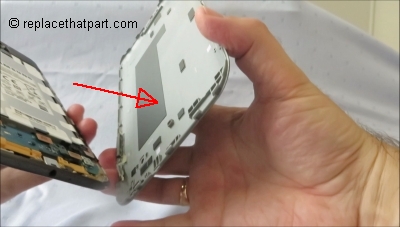
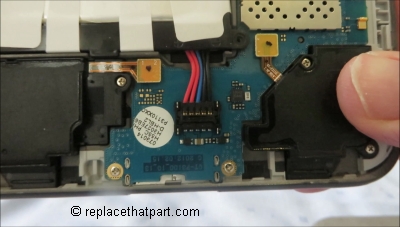
3. Locate the Memory Card Slot. It’s on the top-right corner of the rear side of your device (to the right of the power button and camera lens). You do NOT have to remove the battery.

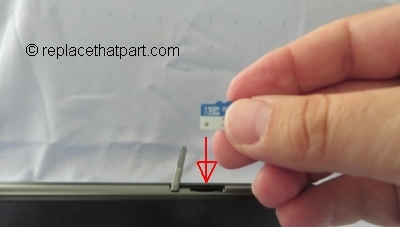
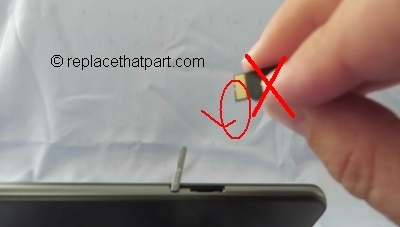
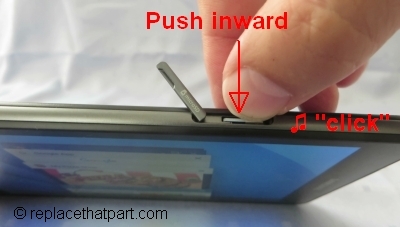
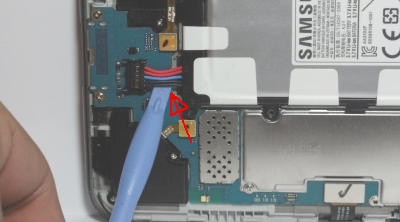
4. Slide the microSD card into the upper slot with the gold-colored contacts facing downwards until it stops. It should fit easily and exactly. Do NOT insert a memory card into the Nano SIM card slot.
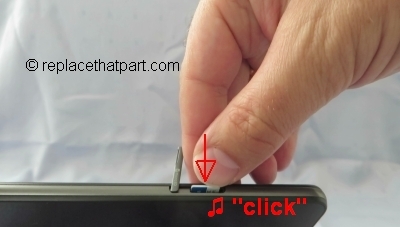
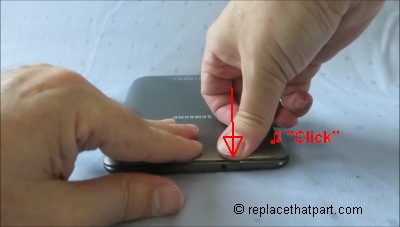
5. Replace the back cover. Line up the hole above the LG logo with the rear camera lens and the power button. Gently press the cover down and around the sides of the phone until it clicks into place.

B. Remove a Memory Card
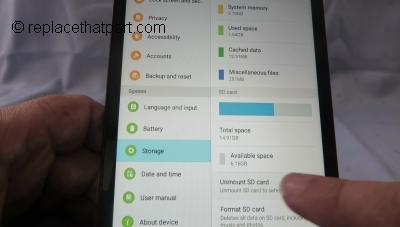
1. Before removing a memory card, first unmount it for safe removal.
Go to Settings > Tap General > Storage. Scroll down and tap Unmount SD card.


1. Turn off the power so that you won’t lose any stored information. If the device is on, press and hold the Power/Lock Key on the back of the phone until the Phone options menu appears. Tap Power off in the Phone options menu. Tap OK to confirm that you want to turn off the phone.

3. Remove the back cover. Hold the device in one hand and find the small notch that will help you to release the cover. It’s on the the bottom-right corner of the phone. Insert a fingernail into the notch. Lift upwards gently to pop the phone open. Working from the bottom-right corner upwards and then lifting the back cover seems to work well. Be careful not to damage your fingernails when you remove the back cover. Also, be certain not to bend or twist the back cover excessively. Doing so may damage the cover.
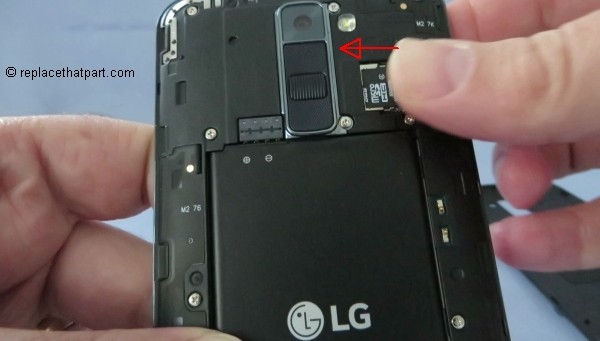
5. Locate the Memory Card. It’s on the top-right corner of the rear side of your device (to the right of the power button and camera lens). You do NOT have to remove the battery.

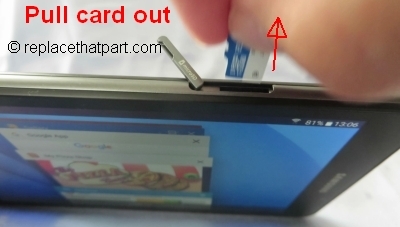
6. Slide the microSD card to the right and pull it away from the device. Make sure to store it safely as it’s small and easy to lose.

7. Replace the back cover. Line up the hole above the LG logo with the rear camera lens and the power button. Gently press the cover down and around the sides of the phone until it clicks into place.


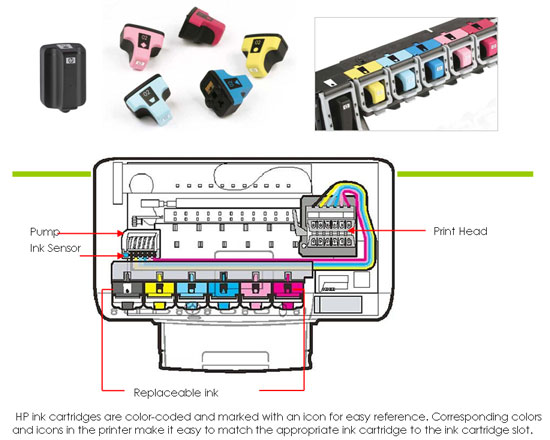
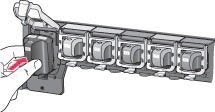
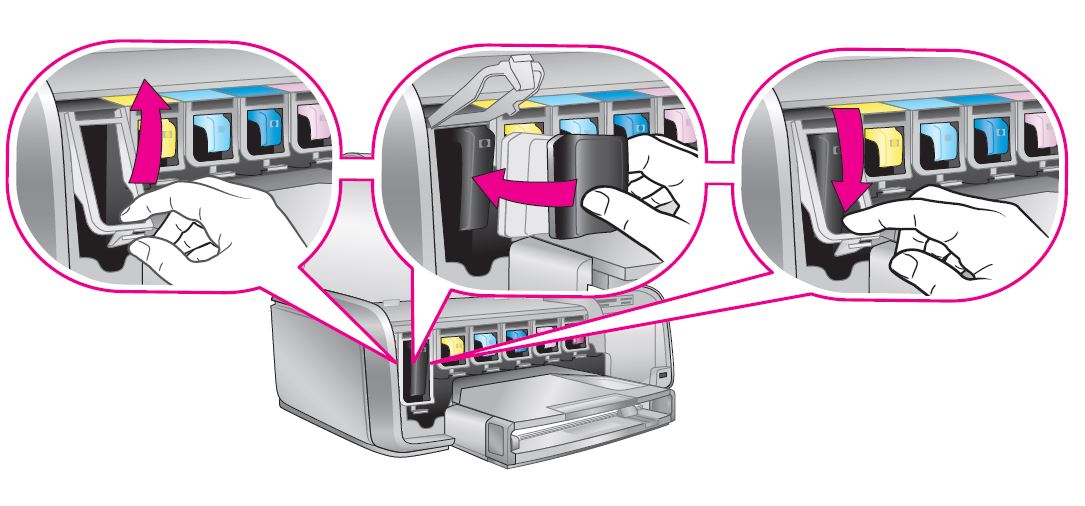
 For your US HP Photosmart 8250 Printer you need an HP 02 Black Ink Cartridge AND 5 color cartridges: HP 02 Cyan, HP 02 Magenta, HP 02 Yellow, HP 02 Light Cyan and HP 02 Light Magenta. XL versions of these cartridges are also available, as well as 6 packs, like the HP 02 Black, Cyan, Magenta, Yellow, Light Cyan & Light Magenta Original Ink Cartridges with Photo Paper, 6 pack.
 For your European or UK HP Photosmart 8250 Printer you need an HP 363 Black Ink Cartridge AND 5 color cartridges: HP 363 Cyan, HP 363 Magenta, HP 363 Yellow, HP 363 Light Cyan and HP 363 Light Magenta. XL versions of these cartridges are also available, as well as 6 packs, like the HP 363 Series Photo Value Pack.