You can check the estimated ink levels from the printer software or from the printer control panel:
Also, Supply-related notifications are automatically communicated on the product control panel.
Make sure you purchase the right ink cartridges for your specific printer. Cartridges are not compatible between different brands, and often not within the same brand. Hewlett-Packard Company cannot recommend the use of non-HP ink cartridges, either new or remanufactured. Any damage caused by a non-HP print cartridge is not covered under the HP warranty and service agreements. XL (Extra Large) cartridges cost more but do provide better value in the long run. They will be able to print at least double the pages of a regular cartridge. Our advice is that if you print often, go with XL. However, ink can dry up. So if you are not a frequent printer, go with the regular cartridges.
Which ink cartridges do I need for my HP Officejet Pro X451dw Printer?


 For your US, European and UK HP Officejet Pro X476dw Printer you need HP 970 Black (XL) AND HP 971 Cyan/Magenta/Yellow (XL) cartridges. There are also Four Packs available, like the HP 970XL & 971XL Four Pack Black & Color Ink Cartridges (1 Black, 1 Cyan, 1 Magenta, 1 Yellow). Check the price of HP 970 and HP 971 cartridges at Amazon.com .
Try Amazon's ink selector tool to find compatible ink cartridges for your printer.
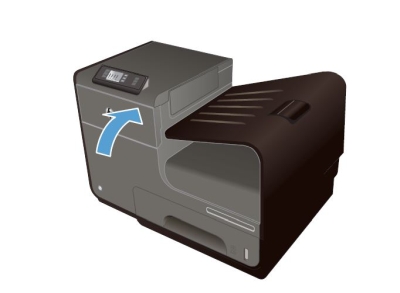
Replace the ink cartridges
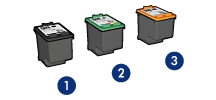
The product uses four colors and has a different ink cartridge for each color: yellow (Y), cyan (C), magenta (M), and black (K). The ink cartridge can be installed and removed by using one hand.
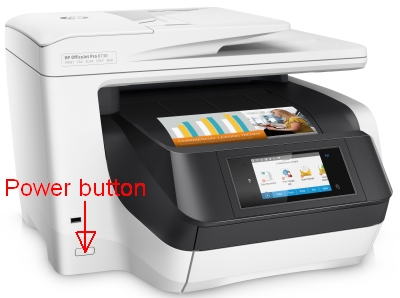
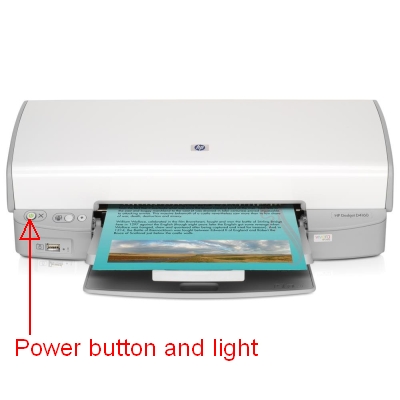
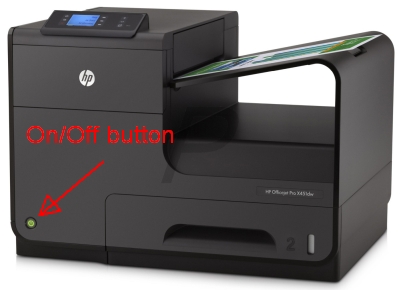
1. Turn the printer on by pressing the On/Off button (power button), if it is not already turned on. Wait until the product is idle and silent before continuing.
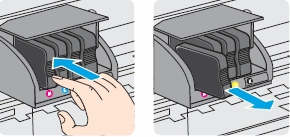
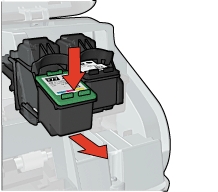
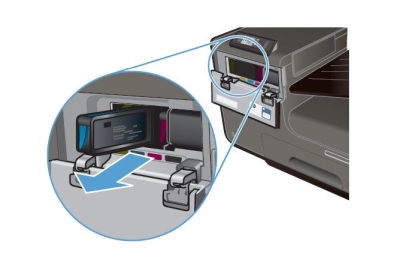
Remove the empty cartridge
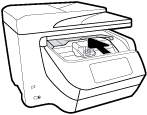
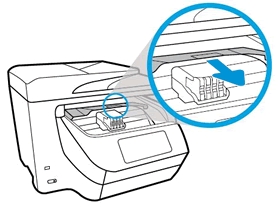
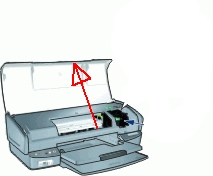
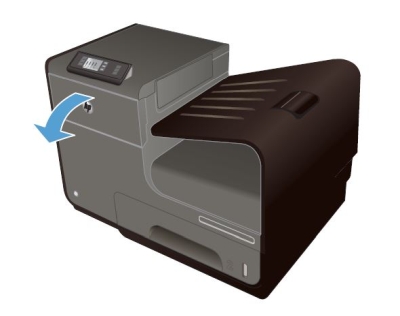
2. Open the ink cartridge door. Wait until the print carriage stops moving before proceeding.
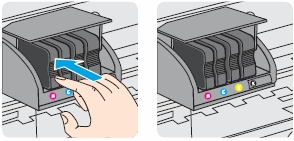
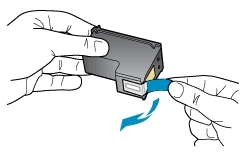
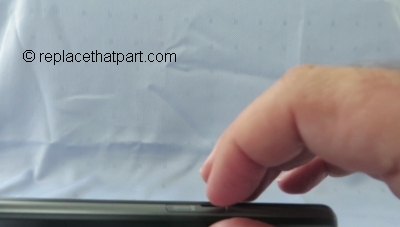
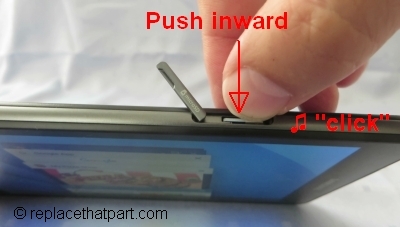
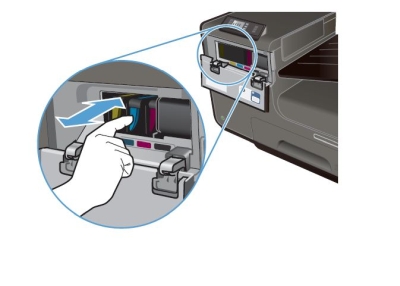
3. Push the old ink cartridge inward to unlock it.
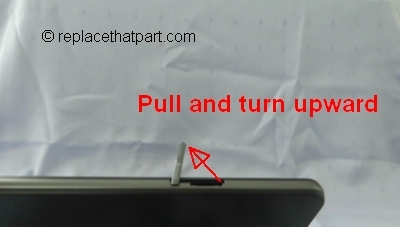
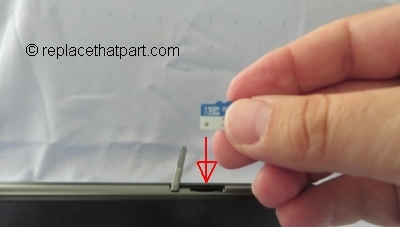
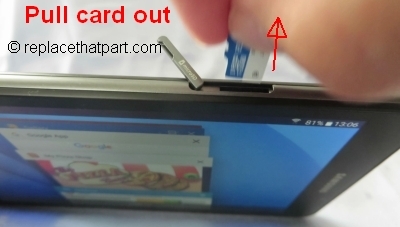
4. Grasp the edge of the old ink cartridge and then pull the cartridge straight out to remove it.
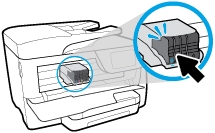
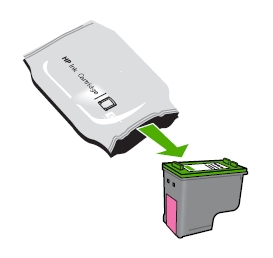
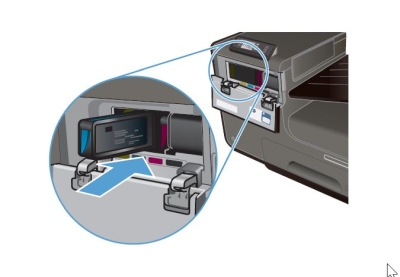
Insert the new cartridge
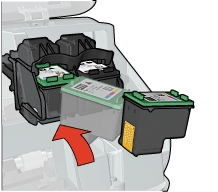
5. Remove the new ink cartridge from the packaging.

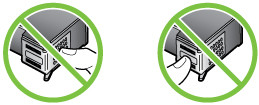
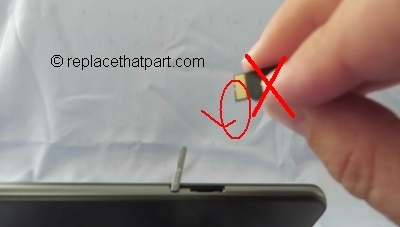
6. Do not touch the metal connector of the ink cartridge. Fingerprints on the connector can cause print-quality problems. Fingerprints may cause supply error messages. Dust may also cause supply error messages; do not leave ink cartridges outside the product for prolonged periods of time.

7. Insert the new ink cartridge into the product.
8. Close the ink cartridge door.
9. Place the old ink cartridge in the box and refer to HP’s recycling instructions at http://www.hp.com/recycle .