How to Replace the Battery in the FireX Smoke Alarm PADC240 – an Illustrated Tutorial in 19 Steps

Hazards
More accidents happen at home than anywhere else. Replacing the battery of a smoke detector is not without hazards. Make sure you know what you’re doing. The FireX smoke alarm PADC240 is mains-powered and connected to your 110 volt or 220 volt home electrical system. The 9 volt battery only serves as backup in the event of a power failure. Since smoke alarms are placed at ceilings, there’s also a risk of falling. If the battery is not replaced correctly, it might not work properly.

  • Read our disclaimer
  • Read the official manual
  • Hire a qualified electrician if insecure

When is replacement of the battery needed?
The alarm will chirp at random intervals to indicate that the backup battery is running low and needs replacing. However you should replace smoke alarms, when they are ten years old or sooner if they don’t respond properly when tested.

This manual has especially been written for the FireX Smoke Alarm PADC240, but might also be useful for other FireX smoke alarms with a 9V battery back-up, like the I240C and PAD240.

Necessaries
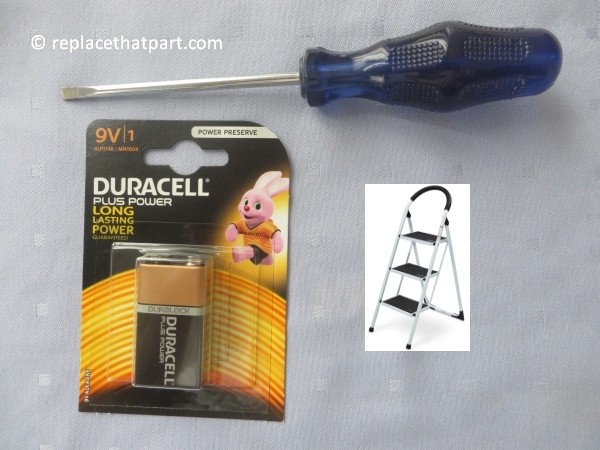
To replace the battery of the FireX Smoke Alarm PADC240, you need:

  • New high quality, long lasting 9 volt battery, NOT a rechargeable one
  • Small screwdriver
  • Step Ladder

how to replace the battery in the firex smoke alarm padc240 00

Play low battery sound

Replacing the battery

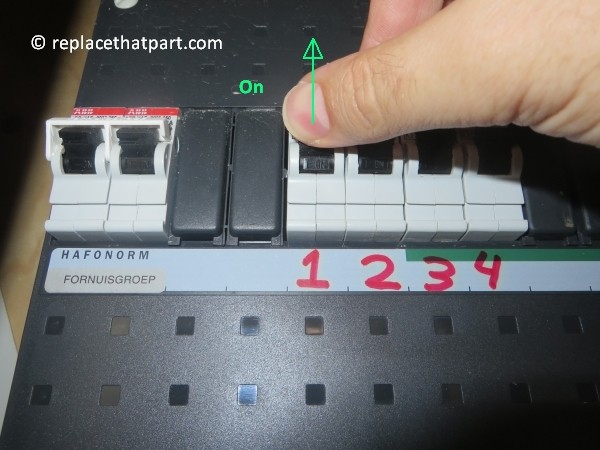
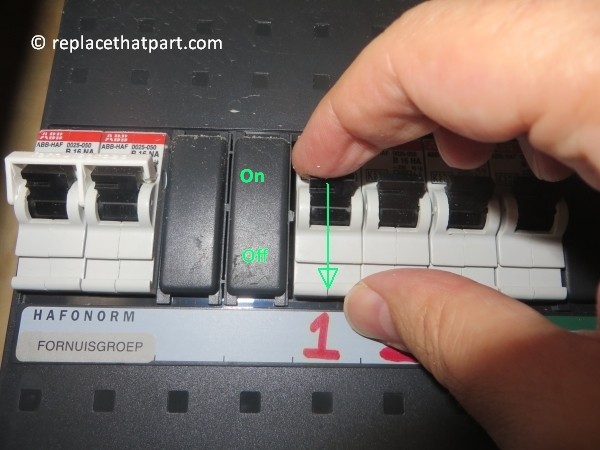
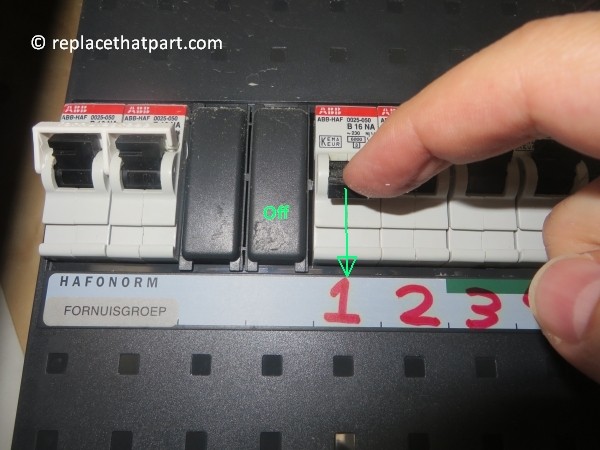
1. Always turn off the electricity. Locate your house’s main electrical panel. Before replacing the battery, turn off main power by removing the appropriate fuse, or switch the circuit breaker that serves the smoke alarm to the off position.
how to replace the battery in the firex smoke alarm padc240 01

how to replace the battery in the firex smoke alarm padc240 02

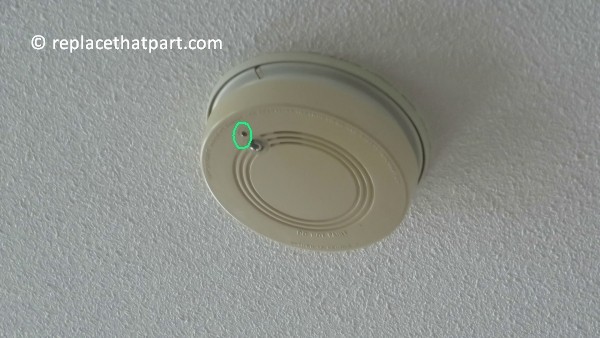
2. Check that the green light on the unit is off. This indicates that the power has been successfully turned off. Other parts of the room or your house might continue to have lights and power.
how to replace the battery in the firex smoke alarm padc240 03

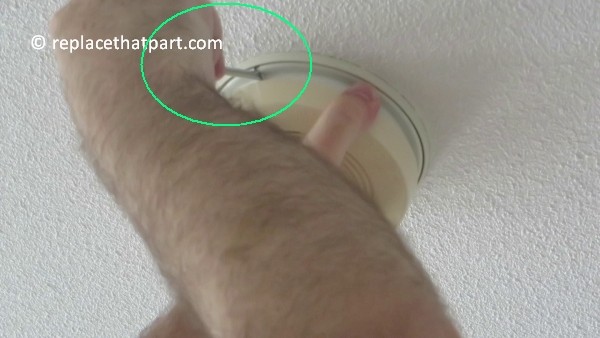
3. Find the slot for the insertion of the screwdriver to enable you to remove the alarm from the base.

4. Insert the screwdriver into the slot until you feel a slight movement, indicating that the alarm has been disconnected from the base.
how to replace the battery in the firex smoke alarm padc240 04

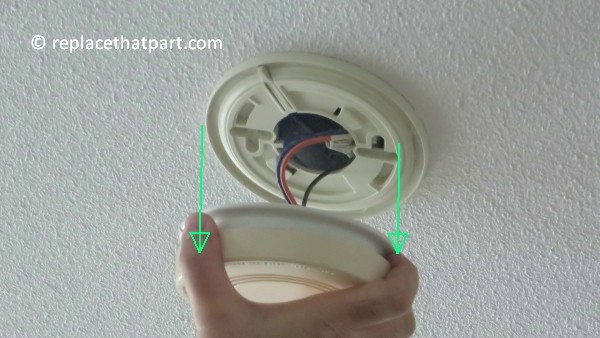
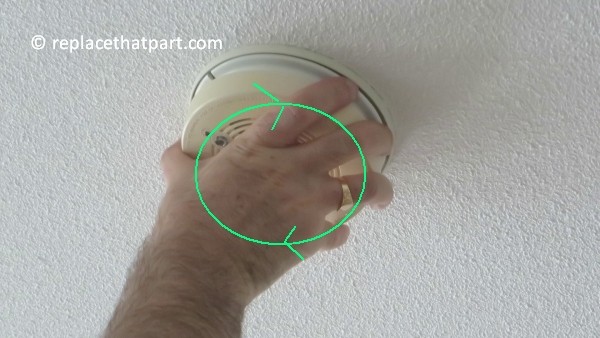
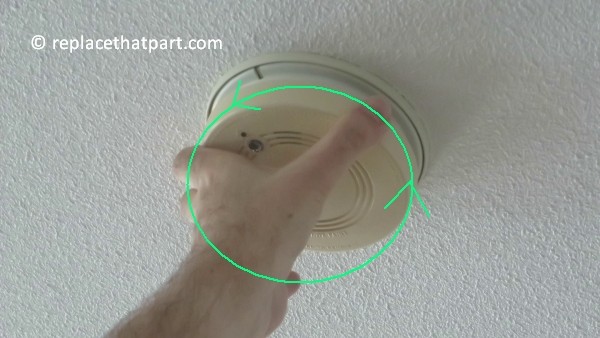
5. Grip the whole top of the smoke detector with your hand and turn it about a half inch counterclockwise. This will release it and you can pull it straight off. Some force might be needed, as it doesn’t necessarily come off easily.
how to replace the battery in the firex smoke alarm padc240 05

how to replace the battery in the firex smoke alarm padc240 06

how to replace the battery in the firex smoke alarm padc240 07

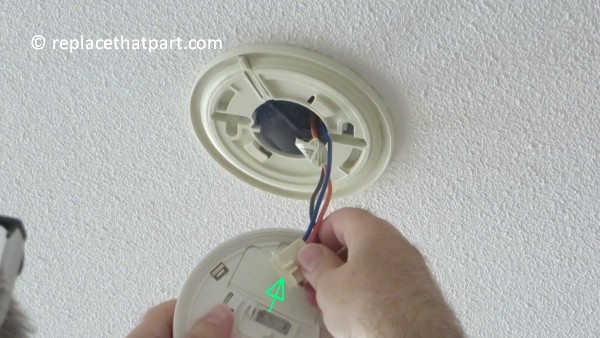
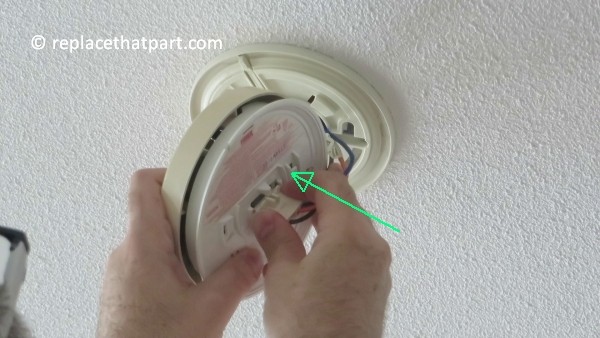
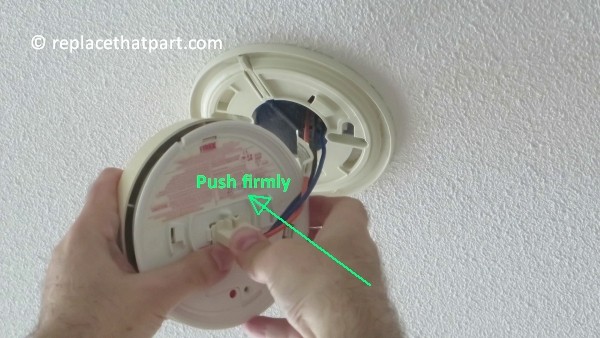
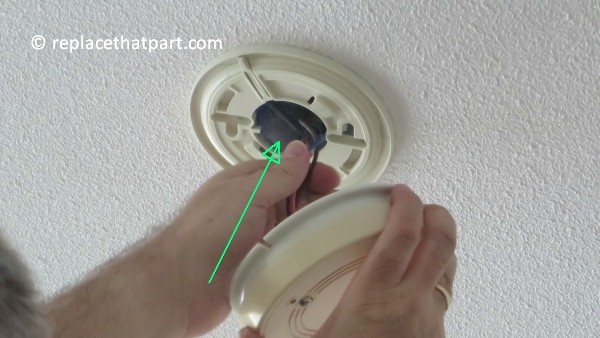
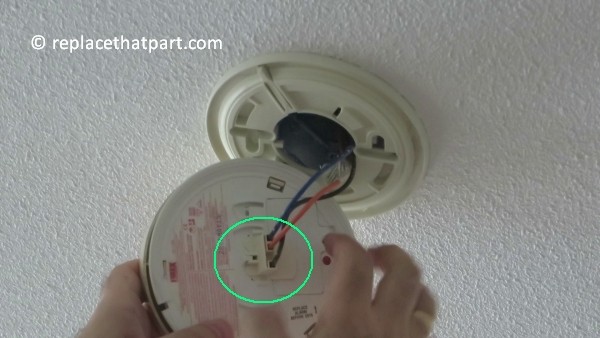
6. Carefully unplug the cable without damaging any wired connections. The beige connector plug with the three wires should pull straight out. It’s probably tight but that’s what you need to do to get the battery compartment open. We did NOT have to push, pull or squeeze plastic “catches” or buttons to release the connector plug, but we had to use muscle power. If you can’t get enough grip on the connector plug with your fingers, you might use waterpump pliers to get it off, but do this at your own risk!
how to replace the battery in the firex smoke alarm padc240 08

how to replace the battery in the firex smoke alarm padc240 09

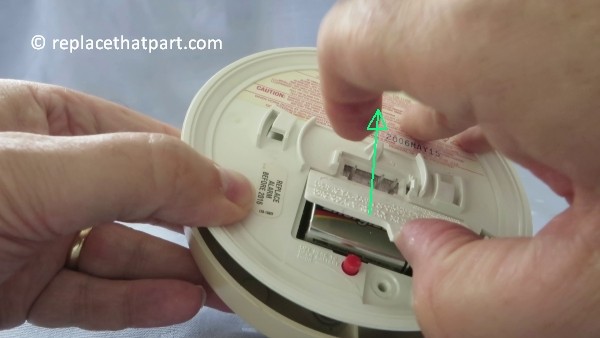
7. Use your fingernail to lift the door of the battery compartment open. You do NOT have to use the red button next to the battery door.
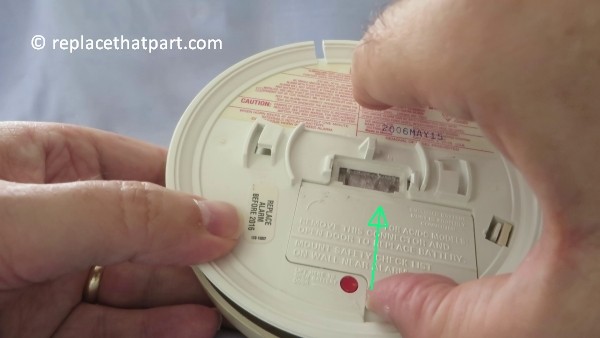
how to replace the battery in the firex smoke alarm padc240 10

how to replace the battery in the firex smoke alarm padc240 11

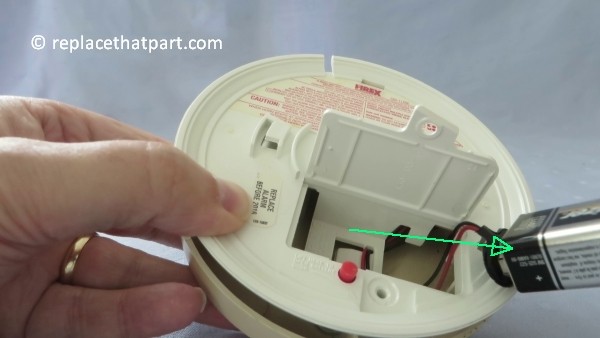
8. Remove the old battery from the battery compartment.
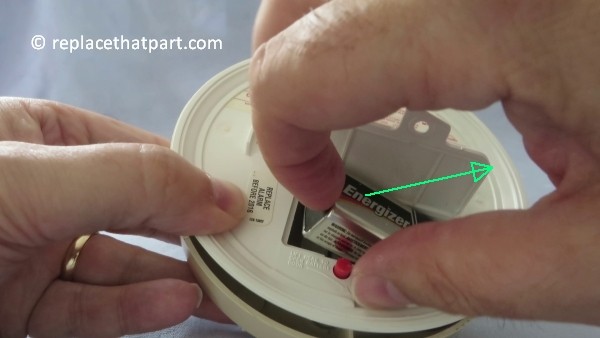
how to replace the battery in the firex smoke alarm padc240 12

how to replace the battery in the firex smoke alarm padc240 13

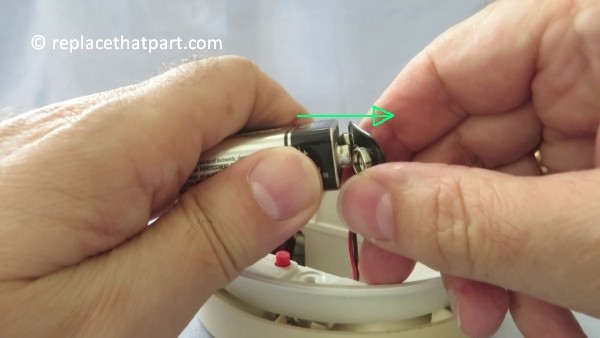
9. Gently disconnect and discard the old battery from the 9 volt battery connector. Do this carefully, otherwise you might damage the connector. Apply slight force, but hold the connector, not the wires when you remove it.
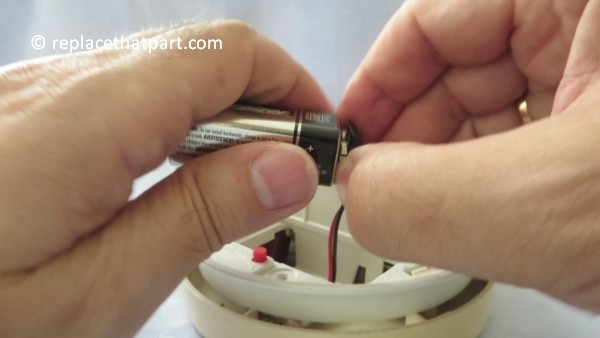
how to replace the battery in the firex smoke alarm padc240 14

how to replace the battery in the firex smoke alarm padc240 15

how to replace the battery in the firex smoke alarm padc240 16

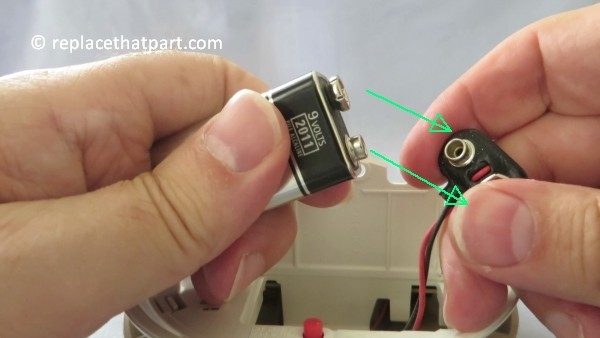
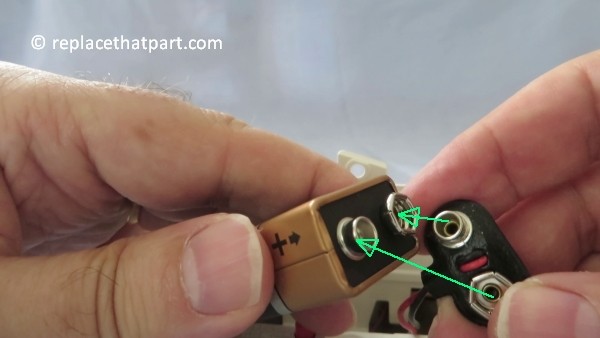
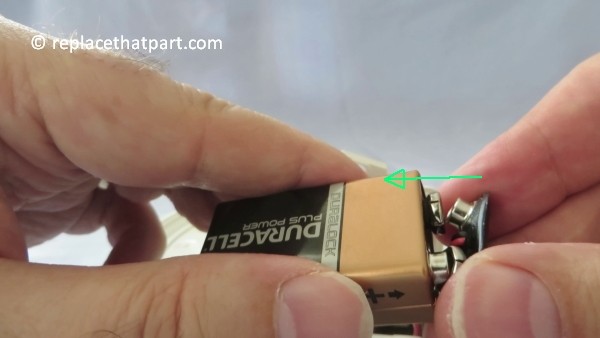
10. Connect a new, 9 volt battery to the connector. Use a high quality, long lasting battery. Using rechargeable or low quality batteries may cause your smoke detectors to fail. The 9 volt battery will have two prongs that need to be pushed into place tightly. The battery will fit only one way. Be sure the battery connector is securely attached to the battery terminals.
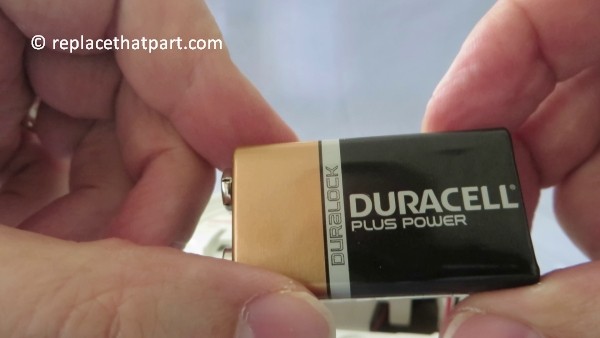
how to replace the battery in the firex smoke alarm padc240 17

how to replace the battery in the firex smoke alarm padc240 18

how to replace the battery in the firex smoke alarm padc240 19

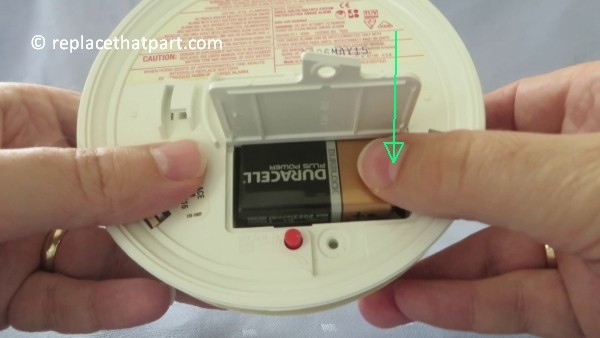
11. Place the new and connected battery into the battery compartment.
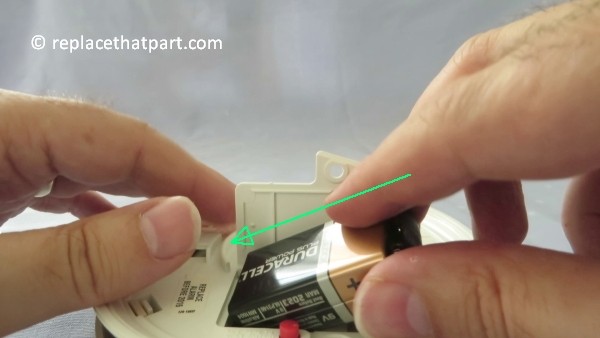
how to replace the battery in the firex smoke alarm padc240 20

how to replace the battery in the firex smoke alarm padc240 21

12. Close the battery compartment door. Push down until it snaps into place. You do NOT have to use screws.
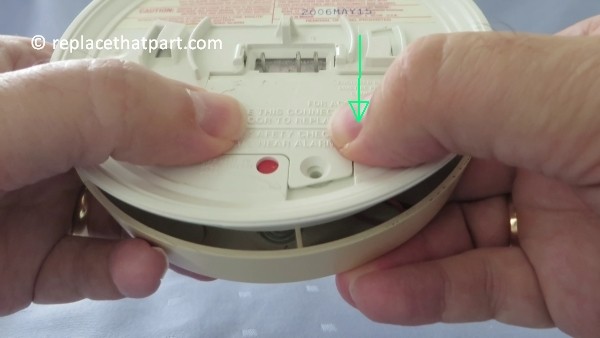
how to replace the battery in the firex smoke alarm padc240 22

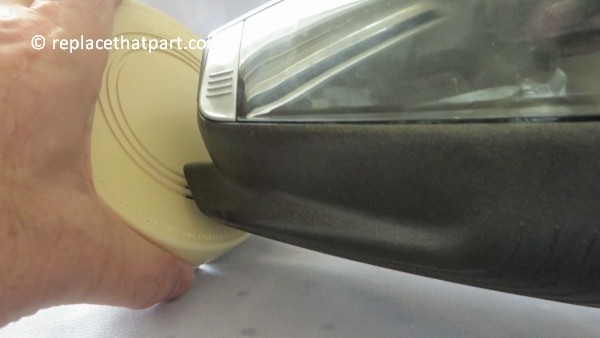
13. Now your smoke alarm is on your table, you might want to use this opportunity to remove possible dust from the inside and outsight of the smoke alarm, using a (handheld) vacuum cleaner. To clean the housing, wipe it down with a dry microfiber cloth.
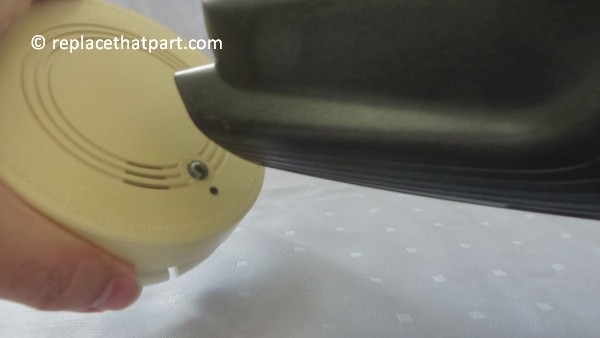
how to replace the battery in the firex smoke alarm padc240 23

how to replace the battery in the firex smoke alarm padc240 24

14. Press and hold the test button. The alarm will sound if the battery is properly connected and working. DO NOT use any other test method.

Play test sound

15. Replace the beige connector plug. Push firmly until the connector snaps into place with a click. Gently tug the connector to be sure it is attached properly.
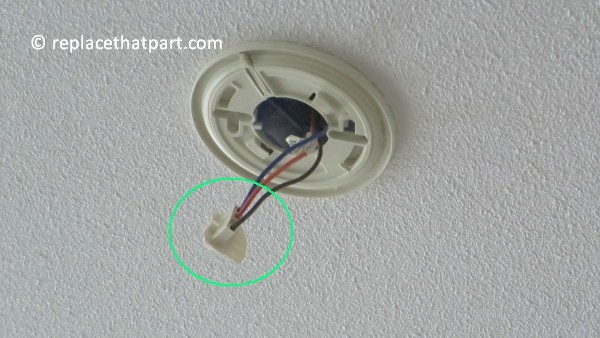
how to replace the battery in the firex smoke alarm padc240 25

how to replace the battery in the firex smoke alarm padc240 26

how to replace the battery in the firex smoke alarm padc240 27

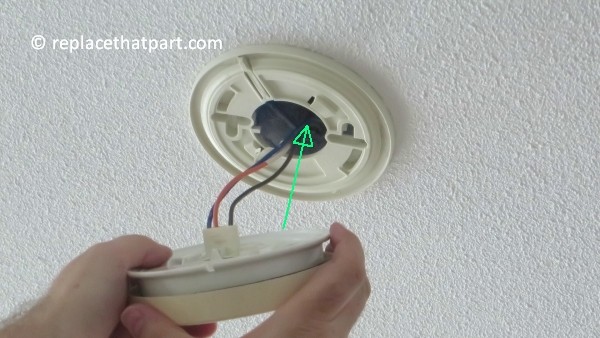
16. Push the wires back into the ceiling if necessary and reattach the smoke alarm to the mounting plate by turning smoke alarm clockwise until it snaps into place.
how to replace the battery in the firex smoke alarm padc240 28

how to replace the battery in the firex smoke alarm padc240 29

how to replace the battery in the firex smoke alarm padc240 30

17. Turn the electricity back on.
how to replace the battery in the firex smoke alarm padc240 31

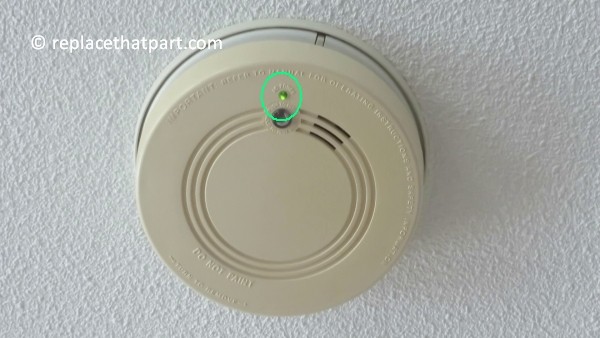
18. Ensure that the green light is showing on the unit. This indicates that the alarm is connected correctly to the main supply.
how to replace the battery in the firex smoke alarm padc240 32

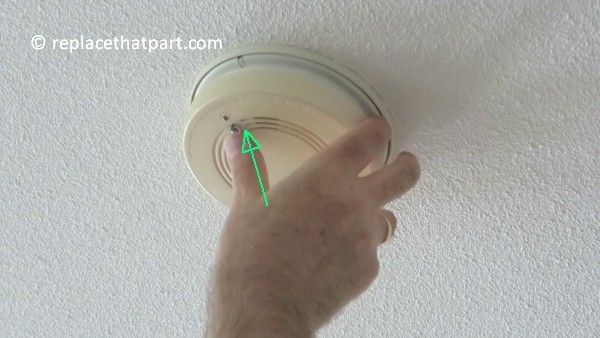
19. Press and hold the test button once again. The alarm will sound if the smoke alarm is properly connected and working. DO NOT use any other test method.
how to replace the battery in the firex smoke alarm padc240 34

Play test sound

If the green light on the unit is on and the test sound works, you’ve successfully replaced the battery of your Firex smoke alarm. Congratulations! Your FireX smoke alarm will guard you for years to come!
Honeywell Chronotherm IV – Batterijen Vervangen – Handleiding

Benodigdheden
3 Penlight AA batterijen

De thermostaat in dit artikel betreft de Honeywell Chronotherm IV, type T8602A Thermostaat. Indien u een ander type thermostaat heeft, kan de procedure op details verschillen, maar het principe is meestal hetzelfde.

Deze thermostaat werkt onafhankelijk van het elektriciteitsnet omdat hij wordt gevoed door batterijen. Tijdens een netspanningsuitval zal de thermostaat normaal blijven functioneren. De cv-installatie zal na het terugkeren van de netspanning automatisch weer in bedrijf komen.

De levensduur van de batterijen is afhankelijk van het type batterij en het gebruik en kan onder gunstige omstandigheden meer dan 2 jaar bedragen. Uw thermostaat werkt met drie standaard ‘Penlight’ alkaline batterijen (type AA). Deze zijn groter dan de kleine AAA variant. De thermostaat van de foto’s werkt overigens al jaren prima met oplaadbare
Ni-MH batterijen. De levensduur is dan vermoedelijk korter. Wanneer in het uitleesvenster VERV BAT knipperend wordt weergegeven, raken de batterijen leeg. U heeft dan nog ongeveer 2 maanden voor zij volledig zijn uitgeput. Indien de batterijen volledig zijn uitgeput, zal het uitleesvenster niets meer weergeven. De thermostaat dient dan van nieuwe batterijen te worden voorzien en in de meeste gevallen moet de tijd en dag van de week opnieuw worden ingevoerd. Als u de batterijen vervangt en het uitleesvenster nog niet is uitgevallen, heeft u 30 seconden de tijd om de batterijen te vervangen, zonder dat de tijd of dagweergave verloren gaat.

Het vervangen van de batterijen

* Handelingen gemarkeerd met een * zijn optioneel en meestal niet nodig.

Verwijder de Honeywell Chronotherm IV van de montageplaat
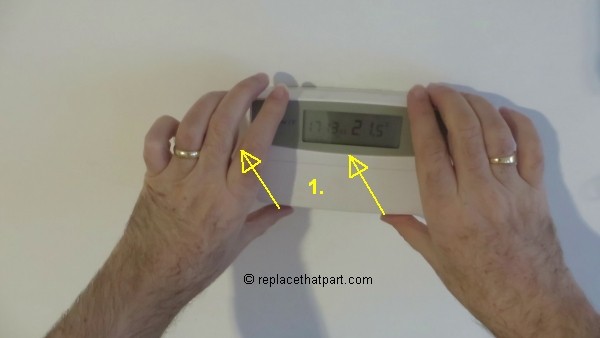
1. * Eventueel: Draai de borgschroef aan de onderzijde van het huis los (alleen indien deze is aangebracht).
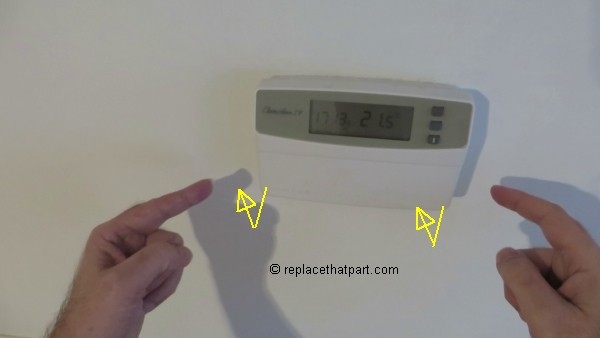
2. Pak de hele thermostaat stevig vast en kantel de onderzijde met een draaiende beweging naar boven.
honeywell chronotherm iv batterijen vervangen 02

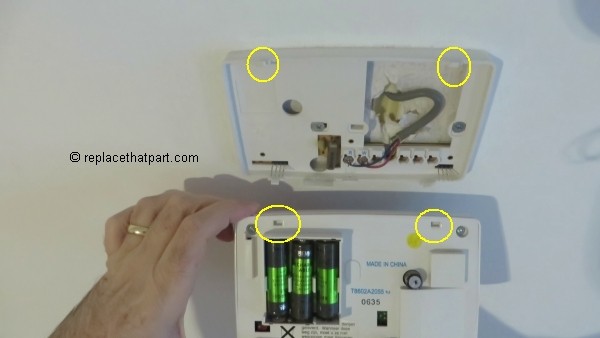
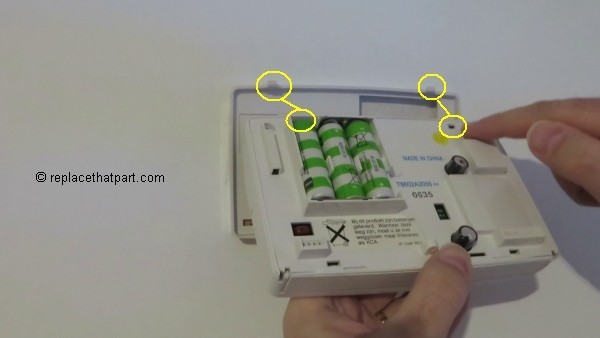
3. Til de thermostaat vervolgens recht naar boven en los van de 2 nokken die zich aan de linkeren rechterbovenhoek van de montageplaat bevinden.

Vervang de batterijen
4. Verwijder de oude batterijen uit de houder.

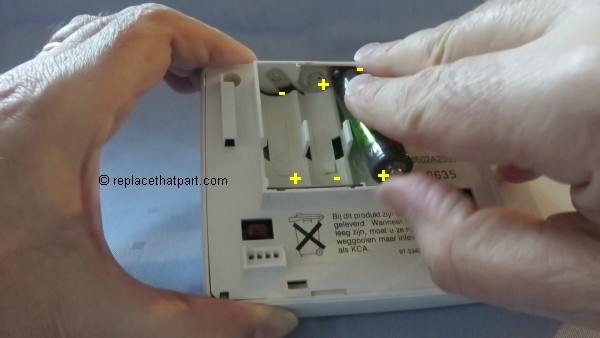
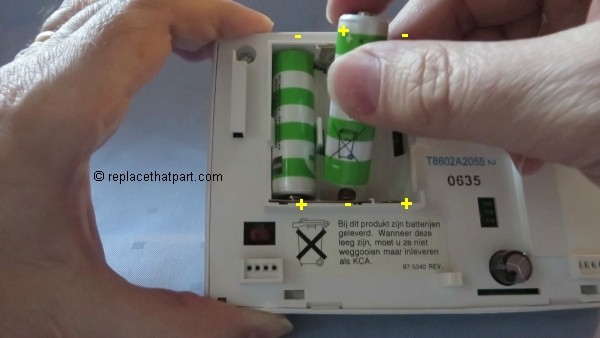
5. Plaats de nieuwe batterijen in de houder zoals aangegeven. Doe dit binnen 30 seconden; dan blijft de programmering behouden. Let op dat u de batterijen op de juiste wijze plaatst met de plus- en minkant van de batterijen conform het tekeningetje in de batterijhouder. De linker- en rechter batterij gaan met de plus naar beneden. Alleen de middelste batterij gaat met de plus naar boven in de houder.

6. *Eventueel: Stel de dag van de week en de tijd opnieuw in (alleen indien blijkt, dat dit noodzakelijk is).

Plaats de Chronotherm terug op de montageplaat
7. Haak de thermostaat met de uitsparingen op de nokken, die zich aan de linker- en rechterbovenhoek van de montageplaat bevinden.

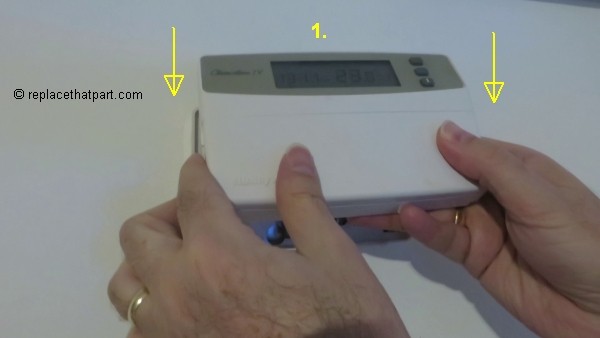
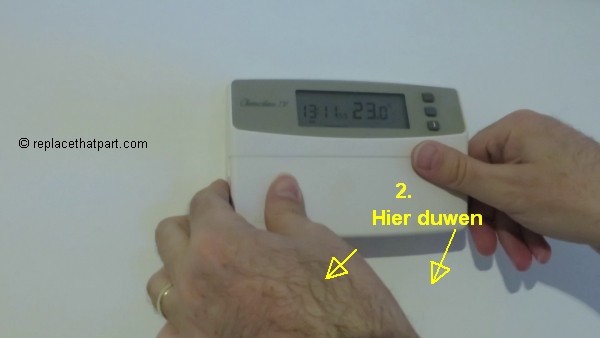
8. Kantel de thermostaat omlaag (scharnierend aan de pasnokken). Let er op dat de houder met de contactpennen van de montageplaat goed aansluiten op de contactblokjes van de thermostaat. Druk de onderkant van de Chronotherm stevig vast.

9. *Optioneel: Draai de borgschroef aan de onderzijde van de Chronotherm vast (indien gewenst).

Dat is alles! Uw Honeywell Chronotherm IV werkt weer minstens tot het volgende stookseizoen.