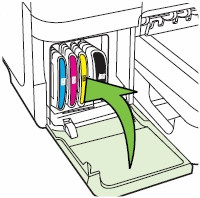
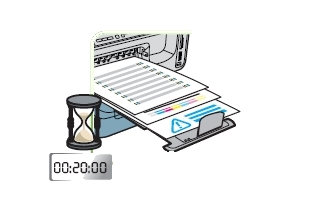
You can check the estimated ink levels from the printer printer control panel:
– From the Home screen on the product control panel, scroll to and touch the Supplies button. The status of all supply items is listed on the screen.
– To print or view a report of the status of all supply items, including the genuine HP part number for reordering the supply, touch the Manage Supplies button. Touch the Supplies Status button, and then touch either the Print or View button.
– Check the percent of life remaining for the cartridges.
Print quality problems can occur when using an ink cartridge that is at its estimated end of life. The supplies status page indicates when a supply level is very low. After an HP supply has reached the very low threshold, HP’s premium protection warranty on that supply has ended. Ink level warnings and indicators provide estimates for planning purposes only. When you see a low-ink warning or indicator, consider having a replacement ink cartridge available to avoid possible printing delays. You do not have to replace the ink cartridges until the print quality is unacceptable.
Make sure you purchase the right ink cartridges for your specific printer. Cartridges are not compatible between different brands, and often not within the same brand. Hewlett-Packard cannot recommend the use of non-HP supplies, either new or remanufactured. Because they are not HP products, HP cannot influence their design or control their quality. If you are using a refilled or remanufactured ink cartridge and are not satisfied with the print quality, replace the cartridge with a genuine HP ink cartridge.
Which ink cartridges do I need for my HP Officejet Pro X451dw Printer?


 For your US, European and UK HP Officejet Enterprise Color MFP X585dn Printer you need HP 980 Black and AND 3 color cartridges: HP 980 Cyan, HP 980 Magenta and HP 980 Yellow cartridges. There are also Four Packs available, like the Hp 980 Inkjet Cartridges – Black, Cyan, Magenta and Yellow. Check the price of HP 980 cartridges at Amazon.com .
Try Amazon's ink selector tool to find compatible ink cartridges for your printer.
Replace the ink cartridges
The product uses four colors and has a different ink cartridge for each color: yellow (Y), cyan (C), magenta (M), and black (K). The ink cartridge can be installed and removed by using one hand.
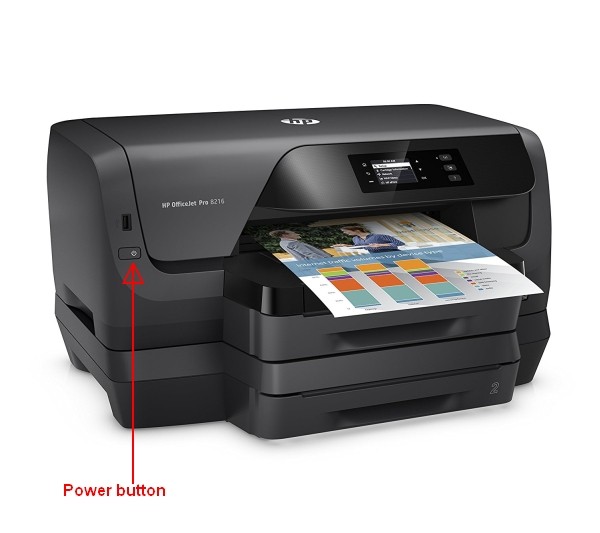
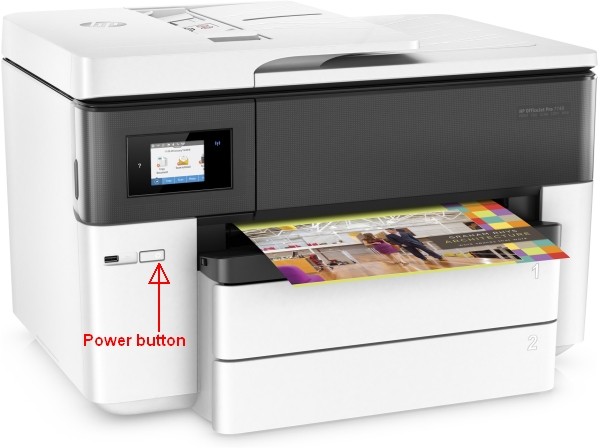
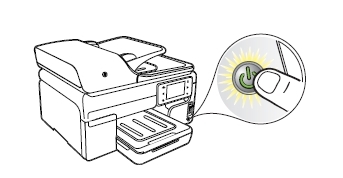
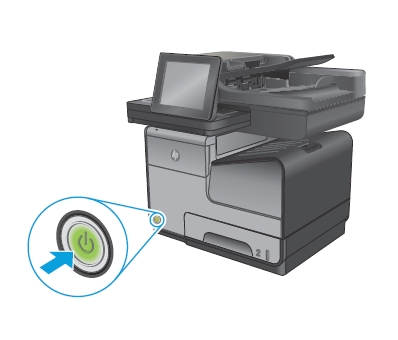
1. Turn the printer on by pressing the On/Off button (power button), if it is not already turned on. Wait until the product is idle and silent before continuing.
Remove the empty cartridge
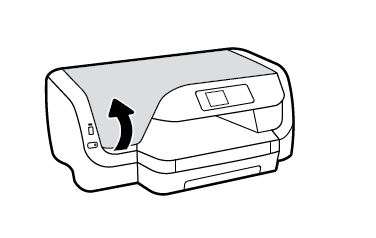
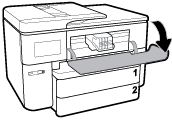
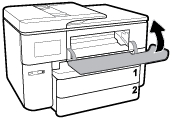
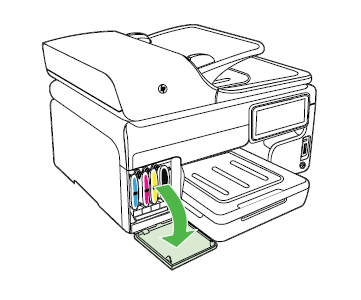
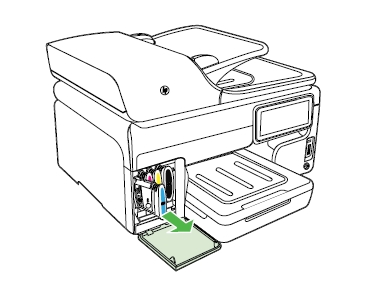
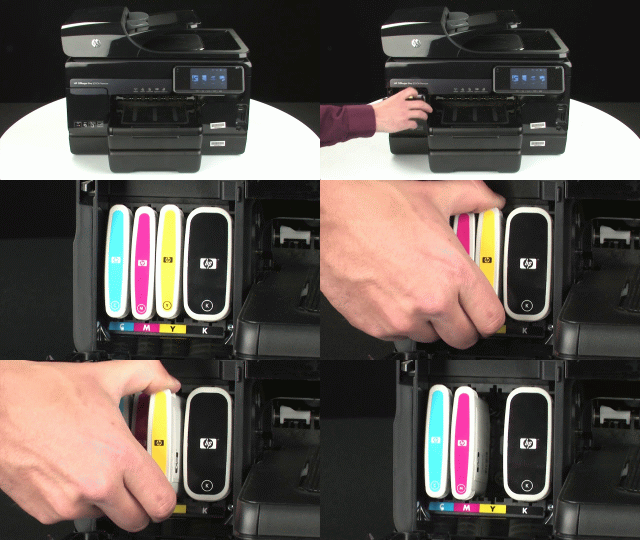
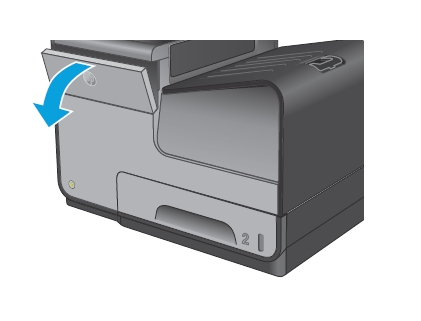
2. Open the ink cartridge door. Wait until the print carriage stops moving before proceeding.
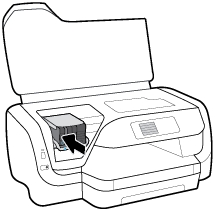
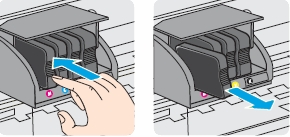
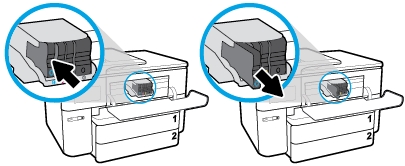
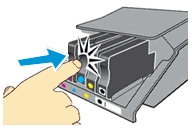
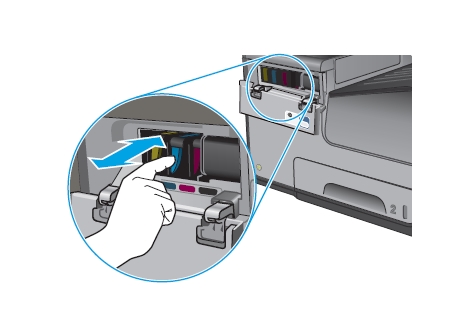
3. Push the old ink cartridge inward to unlock it.
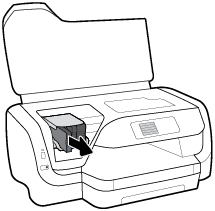
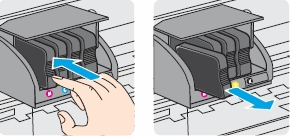
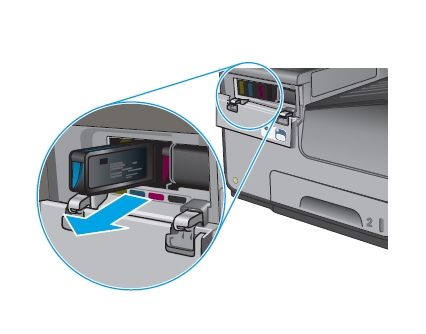
4. Grasp the edge of the old ink cartridge and then pull the cartridge straight out to remove it.
Insert the new cartridge
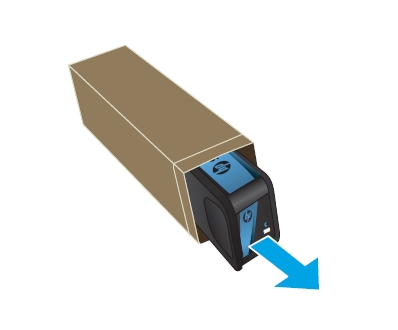
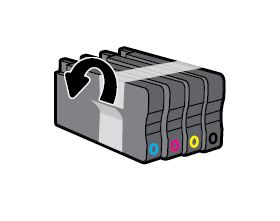
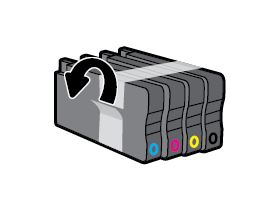
5. Remove the new ink cartridge from the packaging.

OR
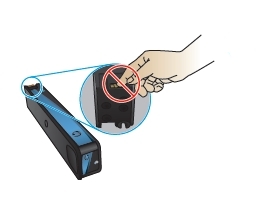
6. Do not touch the gold-colored metal contacts of the ink cartridge. Fingerprints on the connector can cause print-quality problems. Fingerprints may cause supply error messages. Dust may also cause supply error messages; do not leave ink cartridges outside the product for prolonged periods of time.
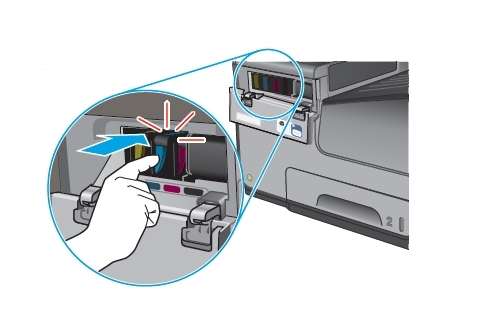
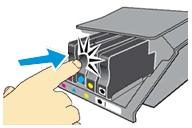
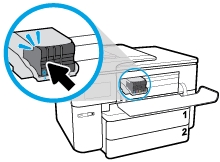
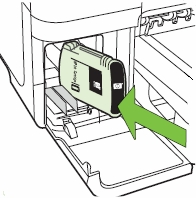
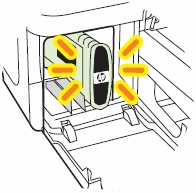
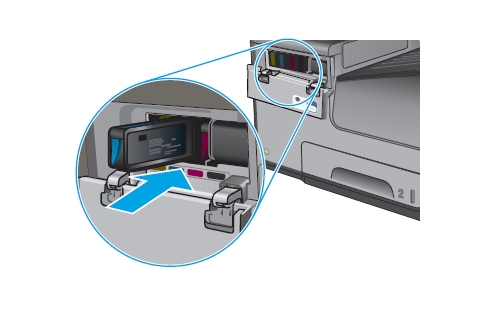
7. Insert the new ink cartridge into the product. Push the cartridge until it “clicks” into place.
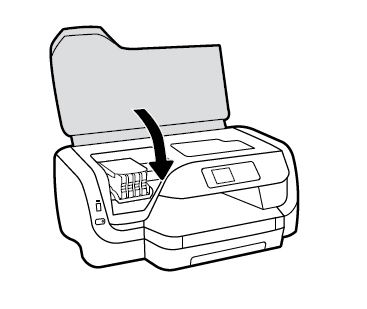
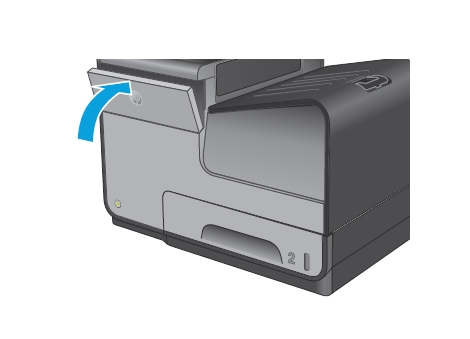
8. Close the ink cartridge door.
9. Place the old ink cartridge in the box and refer to HP’s recycling instructions at http://www.hp.com/recycle . You can also check out Amazon’s list of recycling programs and websites that will help point you in the right direction to recycle most anything.
Align the printhead only if necessary.
Calibration is a product function that optimizes print quality. Follow these steps to resolve print print-quality problems such as misaligned color, colored shadows, blurry graphics, or other print-quality issues.
– From the Home screen on the product control panel, scroll to and touch the Device Maintenance button.
– Open the following menus: Calibration/Cleaning and Full Calibration.
– Touch the Start button to start the calibration process. A Calibrating message will display on the product control panel. The calibration process takes a few minutes to complete. Do not turn the product off until the calibration process has finished.

