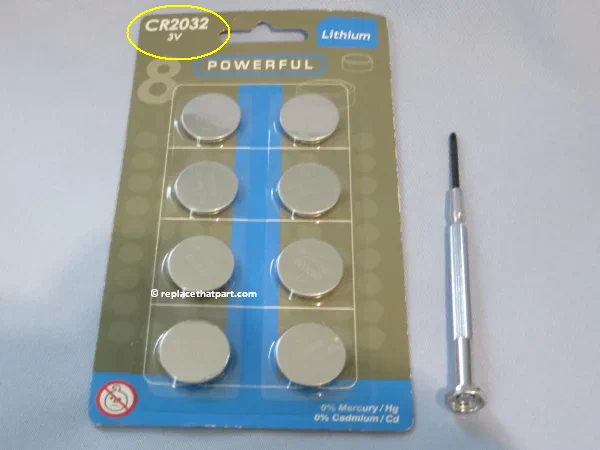
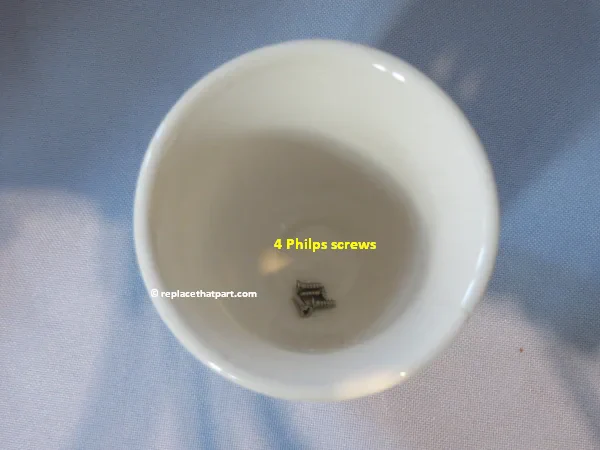
When you have placed a digital thermometer inside your refrigerator to monitor the temperature, you might notice that after many months of use, the LCD screen stops working. Fortunately, fixing this is usually easy, as this is often due to an empty battery. You just have to replace the empty battery and this does not require special skills. The only things you need is a small precision screwdriver and a new coin cell battery. Just follow the steps below.
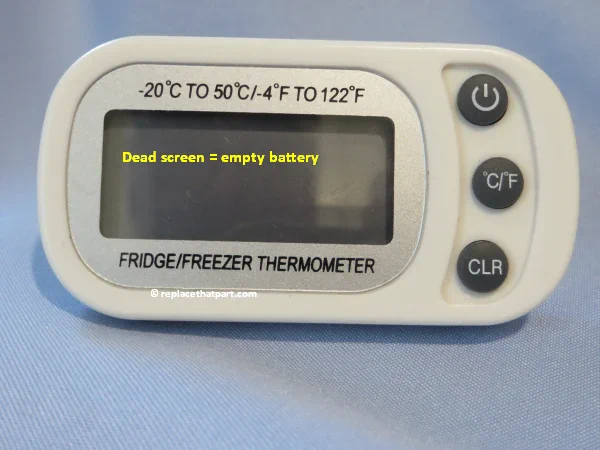
The thermometer we used for this manual is available on Amazon under the brand names AOUCE and Unigear.
Necessities
Replacing the battery
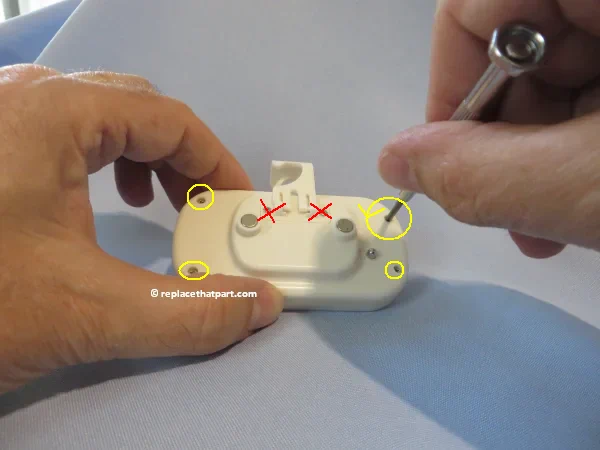
1. localize the 4 little Philips screws at the edges of the backside of the device.
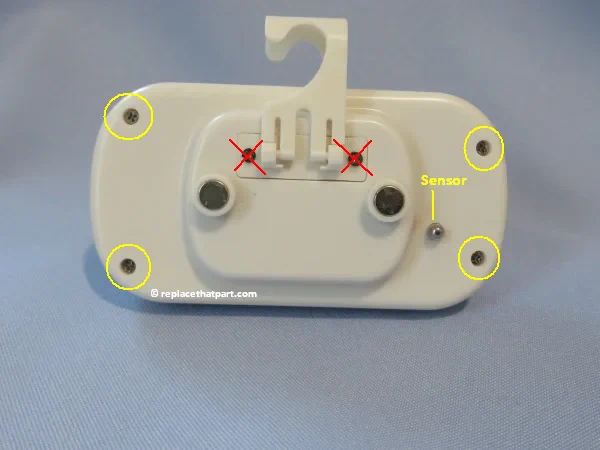
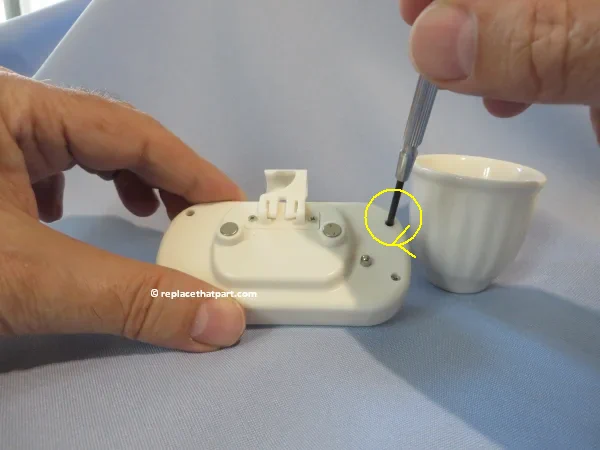
2. Remove the 4 screws one by one by turning the screwdriver counterclockwise. Set the little screws apart and make sure you won’t loose them by putting them in an egg cup or something.
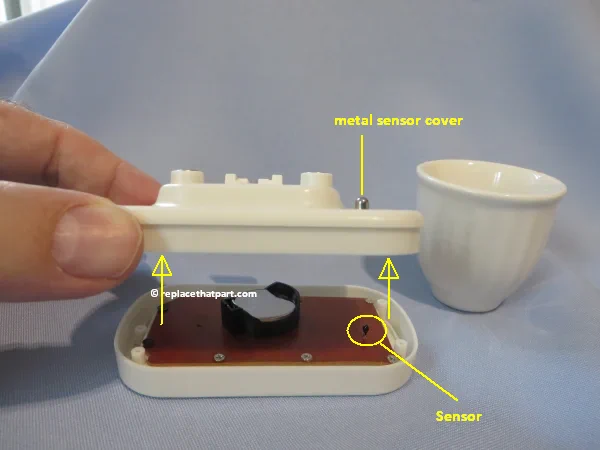
3. Gently remove the backside of the device by lifting it in an upward direction.
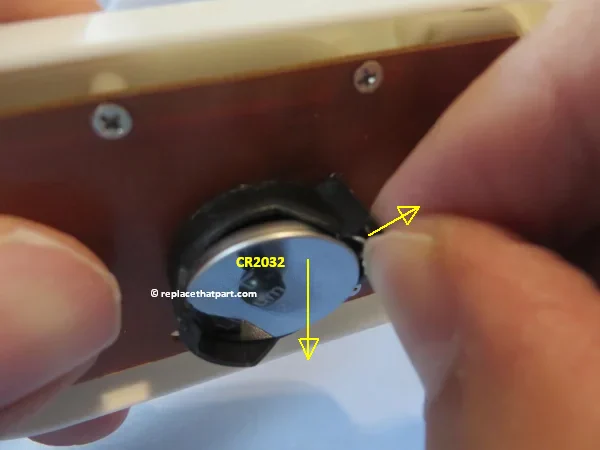
4. Use your finger nail to push the little metal tab at the right side of the battery compartment a little to the right. By doing this, the coin cell battery unlocks and can be removed from the battery compartment, using an other finger.
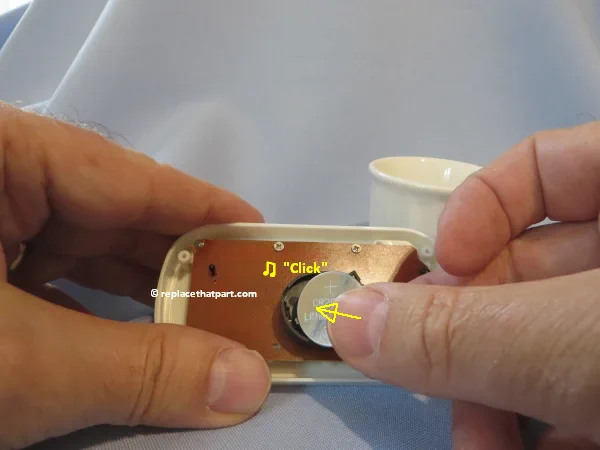
5. Take a new CR2032 battery from it’s packaging. The + plus side is on top. Now push the coin cell battery gently in the empty battery compartment until it clicks into place.
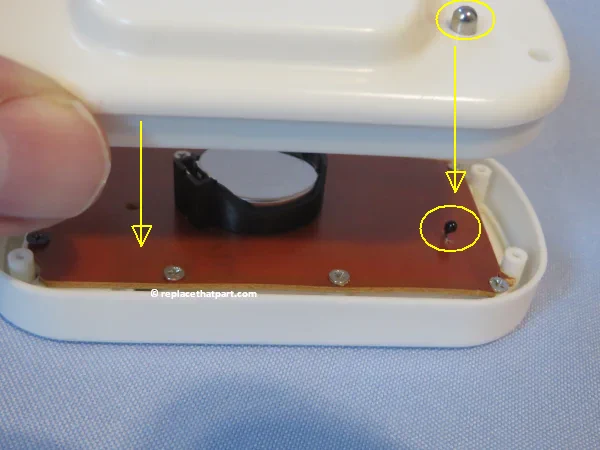
6. Replace the back cover of the device.
! Important: do this gently and make sure the little sensor on the circuit board exactly fits into the metal sensor-cover on the outside of the back cover. If you don’t do this gently and precisely, the sensor might bend or break.
7. Replace the 4 screws one by one into the back by turning the screwdriver clockwise.
8. Now the LCD display should start to work again. This might take a while. If necessary, push the power button.
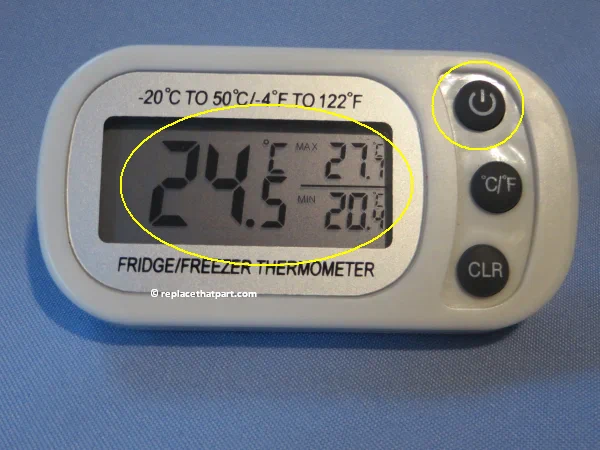
Your digital refrigerator thermometer is ready for use again!
