Which Memory Card do I need for my Samsung Galaxy Tab A 7.0 tablet?
Make sure you purchase the right Memory Card for your tablet. Your Samsung Galaxy built-in memory is 8GB. Users who demand more memory from their tablet can install an external microSD or microSDHC (High-Capacity) memory card with a maximum capacity of 128 GB (according to Samsung). Do NOT buy an SD Card you need the MICRO version! A microSD card or microSDHC (High-Capacity) memory card is the same type of card usually used for smartphones. In the past the max. limit for microSDHC cards was often 32 GB. So for the best compatibility with other devices and to be safe, it might be wise to purchase a card with a maximum capacity of 32 GB. Many micro SD Cards come with an SD Card adapter for compatibility with SD-enabled devices, such as cameras, camcorders and (notebook) computers. Memory cards usually come pre-formatted and do not need to be formatted out of the box.
We recommend storing multimedia files (such as music, videos and pictures) on an external memory card in your device to free up your device’s internal memory for applications. Plus, if you buy a new tablet, you can simply put your external memory card in your new device and all your data is back immediately.
The SD Association defines standard speed classes indicating minimum performance to record video. The class indicates the minimum writing speed: Class 2 = 2 MB/s, Class 4 = 4 MB/s, Class 6 = 6 MB/s, Class 10 = 10 MB/s. A fast Class 10 card is the best option these days, especially for playing (HD) video.
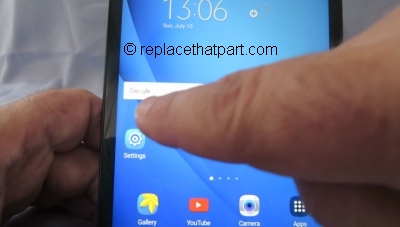
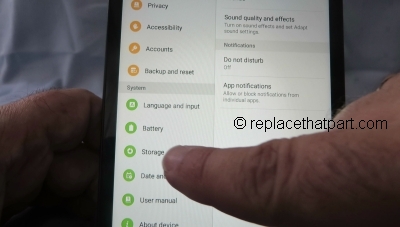
SDHC cards are shipped preformatted with the FAT file system. Your Samsung Galaxy Tab A 7.0 supports only the FAT file structure. If you insert a card formatted with a different file structure, your device will ask you to reformat the memory card. Formatting your memory card on a PC may cause incompatibilities with your device. Format the memory card only on the device. From a Home screen, tap Apps > Settings. Tap Storage > Format SD card and follow the prompts.
Popular memory cards for this tablet include, but are not limited to: Samsung EVO 32GB Class 10 Micro SDHC Card with Adapter (MB-MP32DA/AM) and SanDisk Ultra 16GB Ultra Micro SDHC UHS-I/Class 10 Card with Adapter.
A. Insert a Memory Card
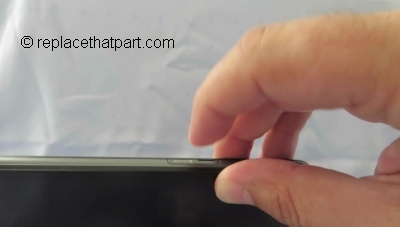
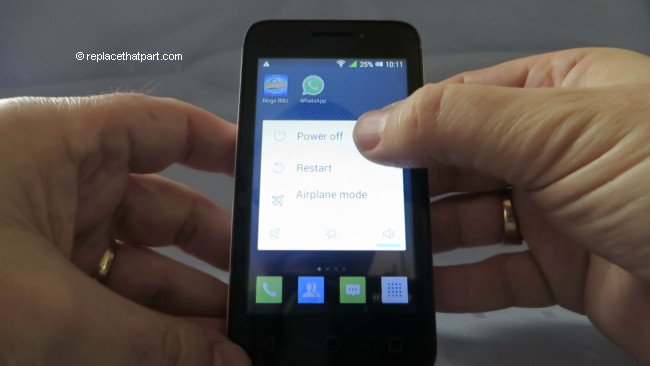
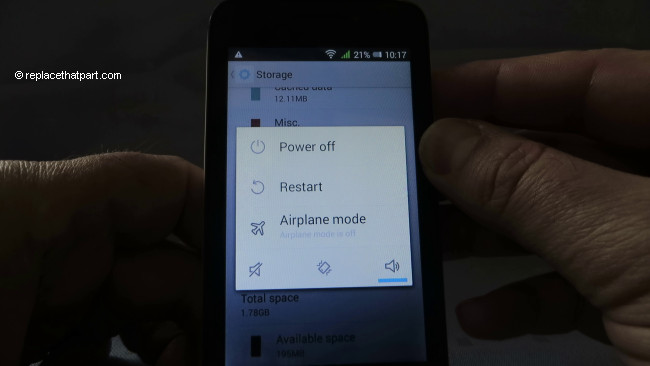
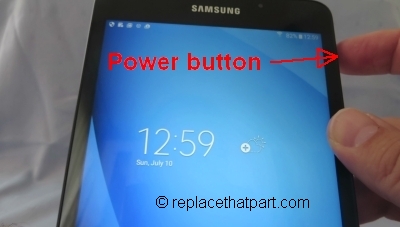
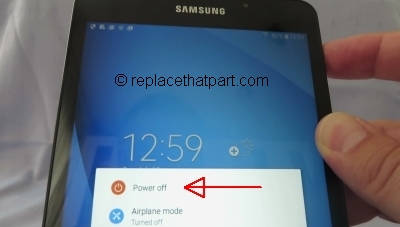
1. Turn off the power so that you won’t lose any stored information. If the device is on, press and hold the power button on the right side of the device and then tap Power off.
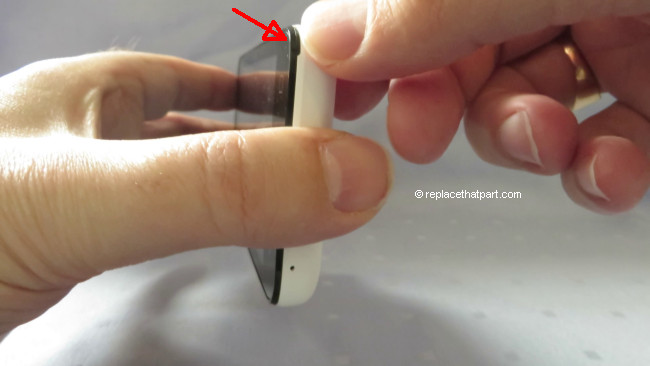
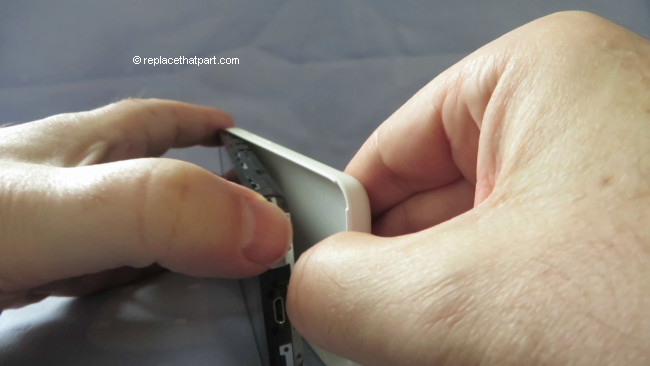
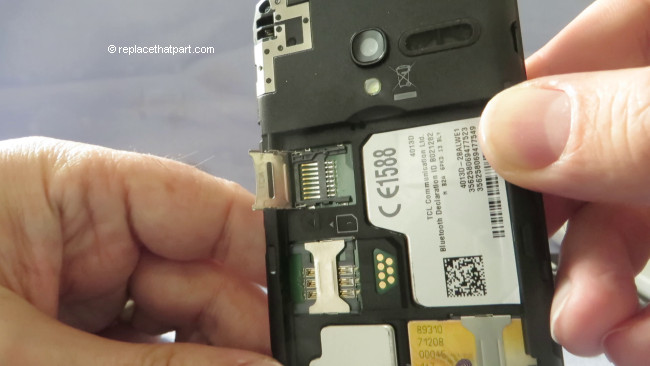
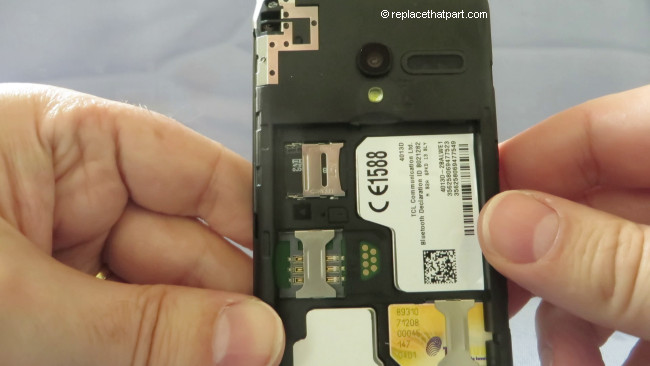
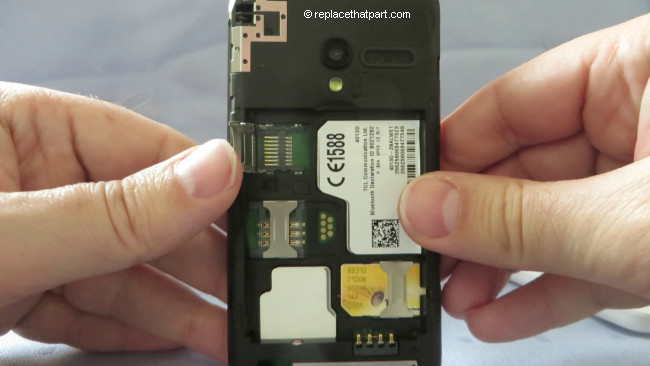
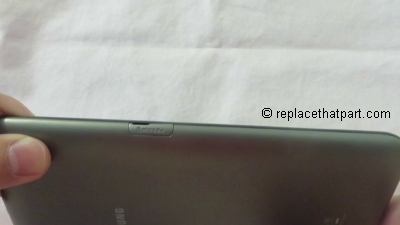
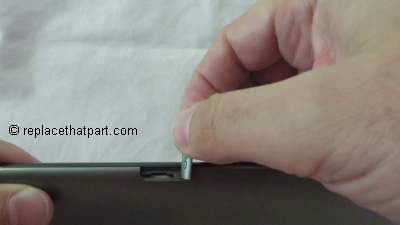
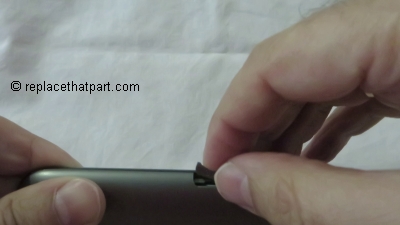
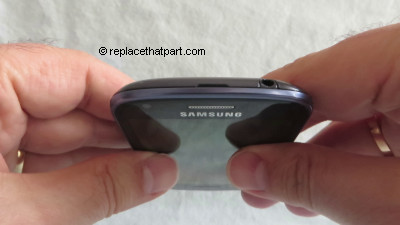
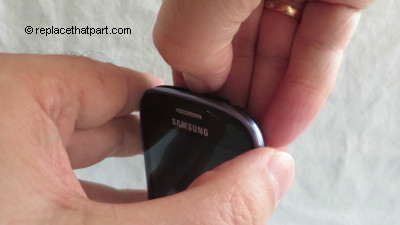
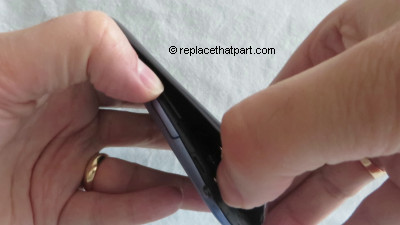
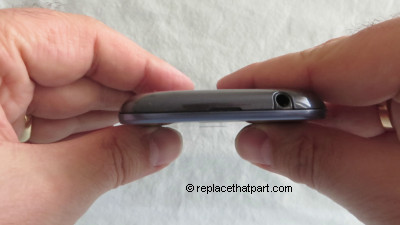
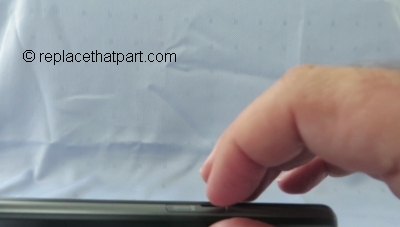
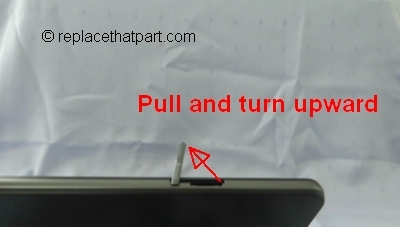
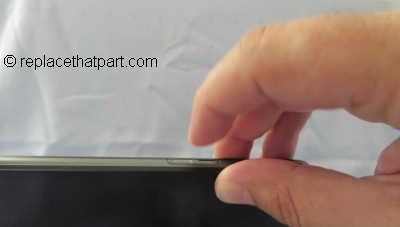
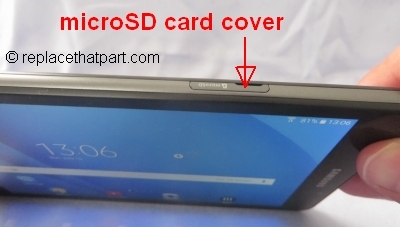
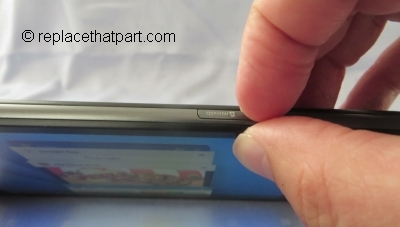
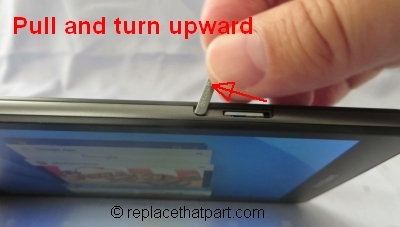
2. Locate and open the microSD card cover on the upper-left side of your device. Use your finger nail to gently pull the cover out and turn it upward.
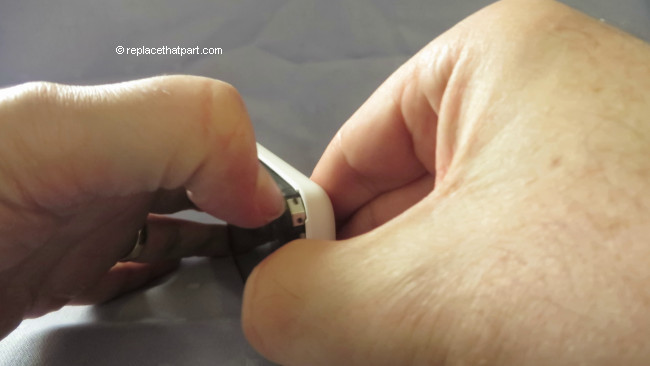
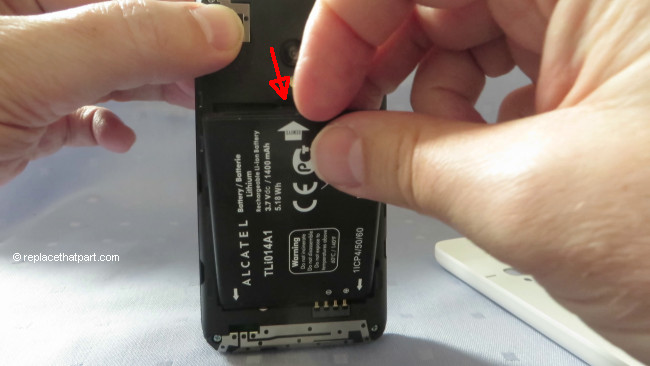
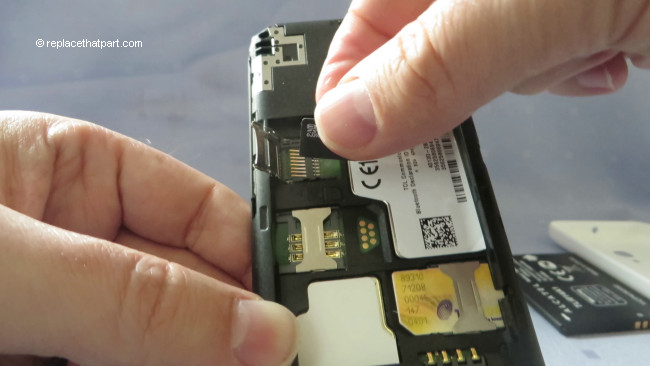
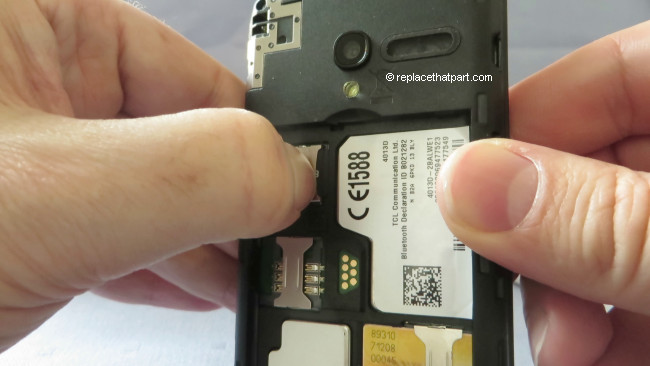
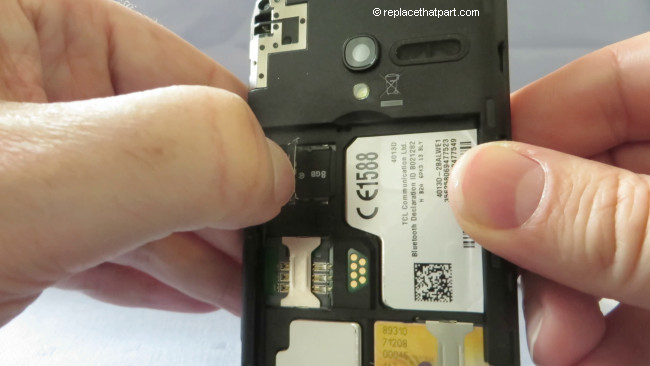
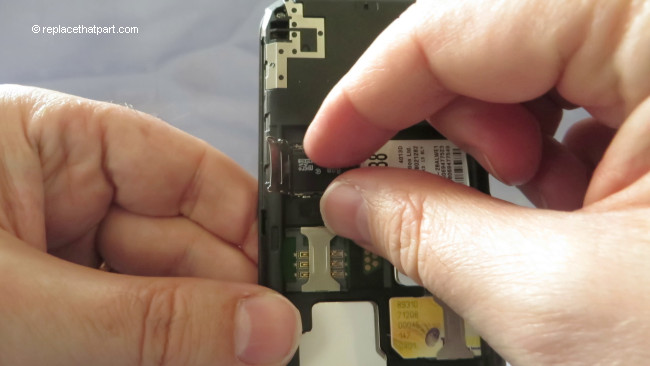
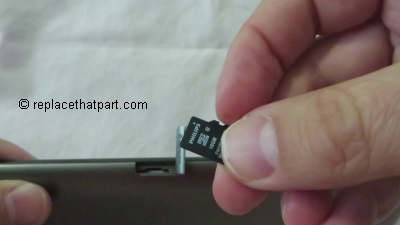
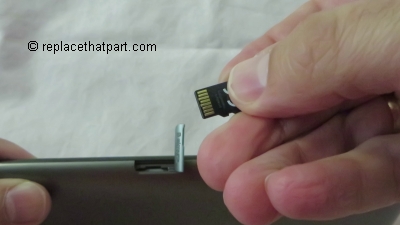
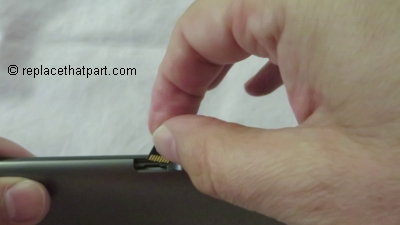
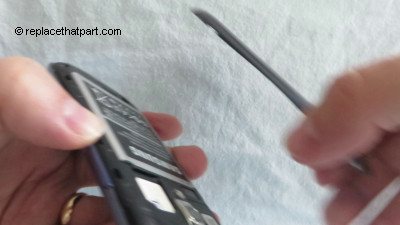
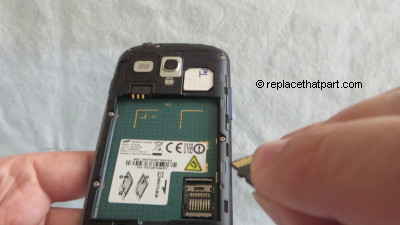
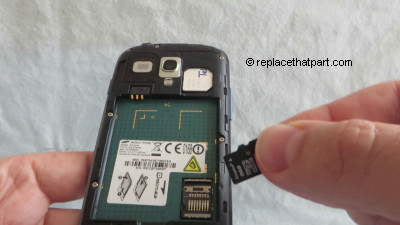
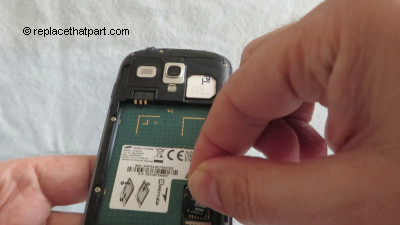
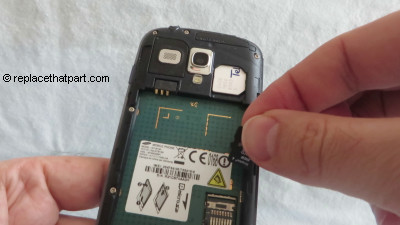
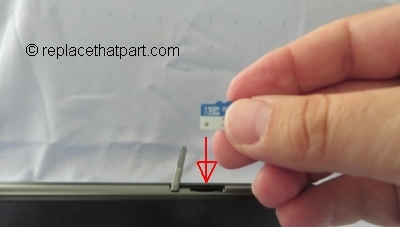
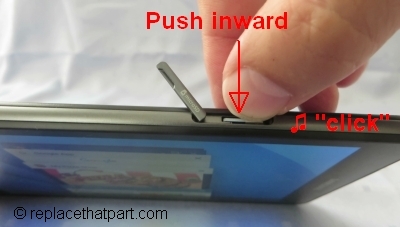
3. Insert a microSD card with the gold-coloured contacts facing downwards, label side up, and then push the memory card inward until it clicks and locks into place. The card is now in its locked position.
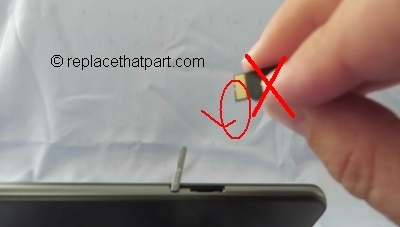
Important: You can easily damage the memory card and card slot by improper operation. Please be careful when inserting, removing, or handling it. Do not over-insert the card as this can damage the contact pins.
4. Close the microSD card cover.

5. Press and hold the power button to turn the device on. When you install a memory card, it is automatically mounted (connected to the device) and prepared for use.
B. Remove a Memory Card
1. Ensure that the device is not currently accessing the memory card. Do not remove a memory card while the device is transferring or accessing information, as this could result in loss of data or damage to the memory card or device.
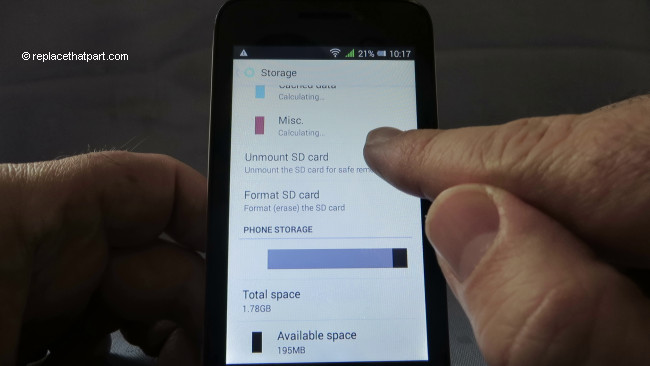
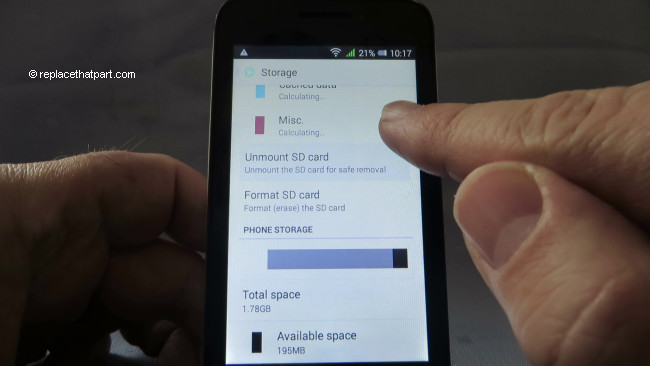
2. Before removing a memory card, first unmount it for safe removal.
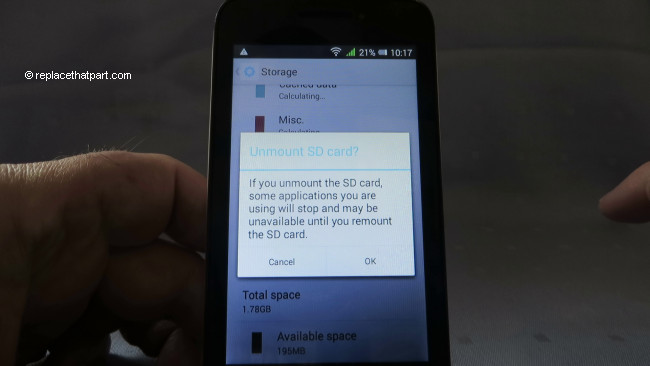
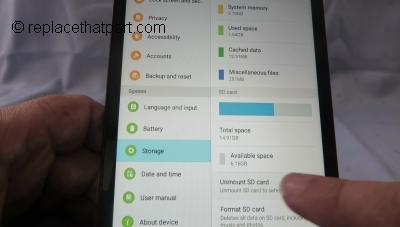
In the application list, select Settings > Storage > Unmount SD card > OK. Unmounting an SD card may stop some applications from functioning until you mount the SD card again.
3. Locate and open the microSD card cover. It’s on upper-left side of your device. Use your finger nail to gently pull the cover out and turn it upward.
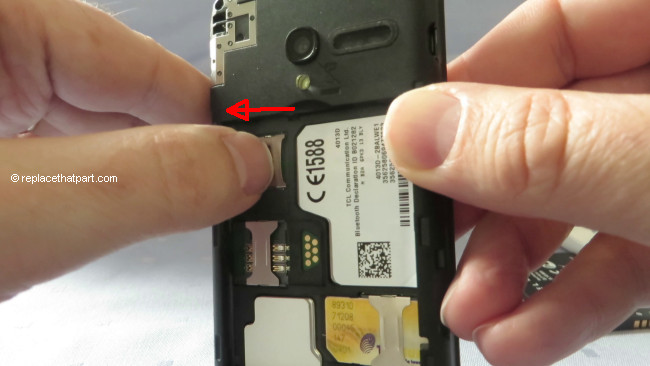
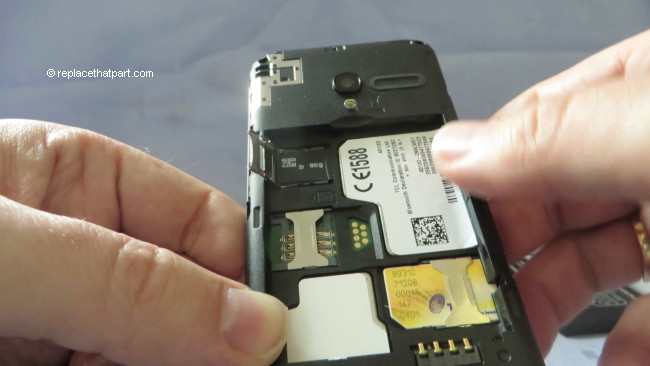
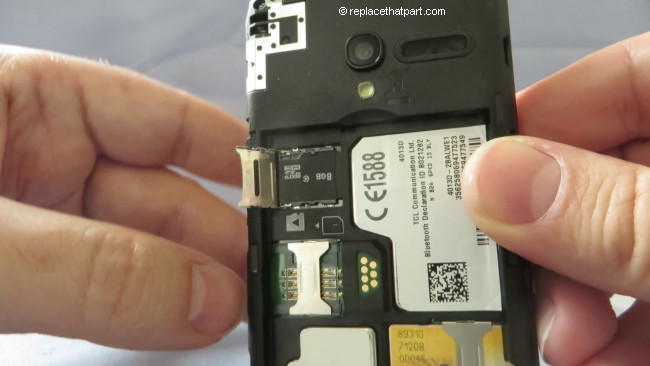
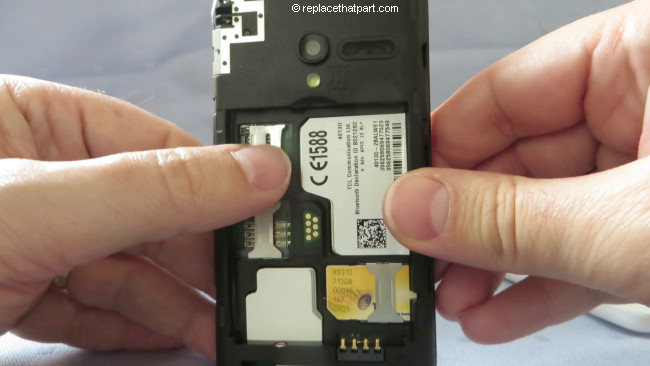
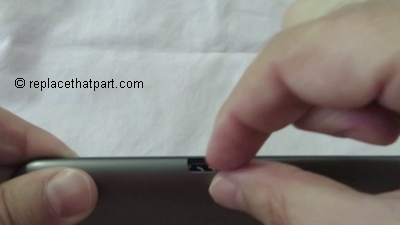
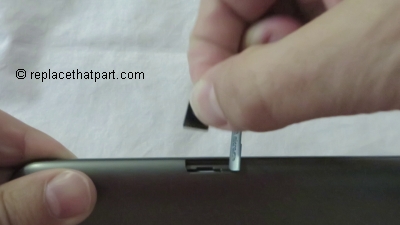
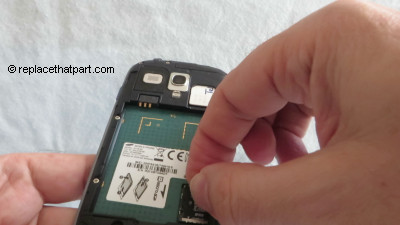
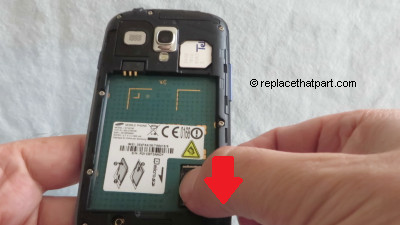
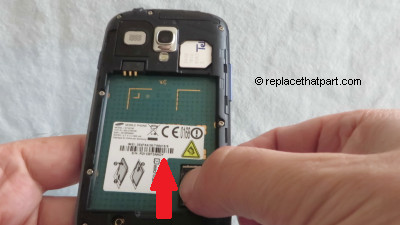
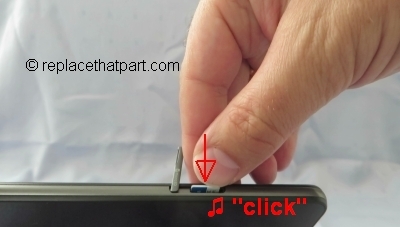
4. Use your fingernail (or a removal tool) to push the microSD card into the socket to release the safety catch. Push it in as far as it will go. You hear a slight “click“, which means the card is in its unlocked position.
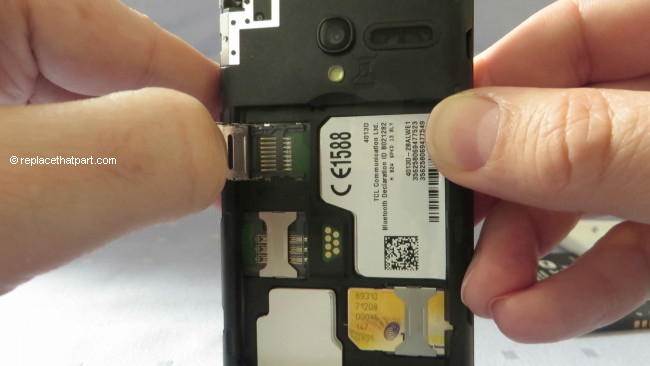
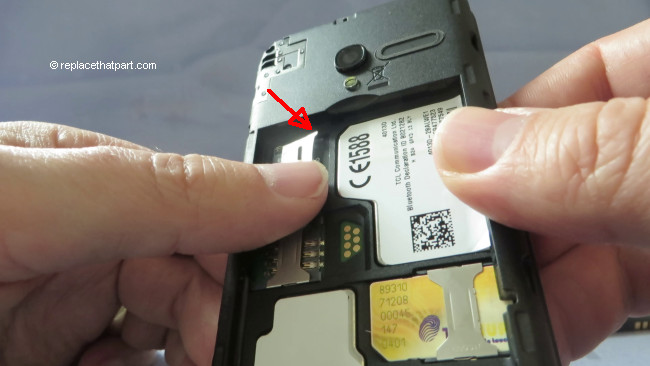
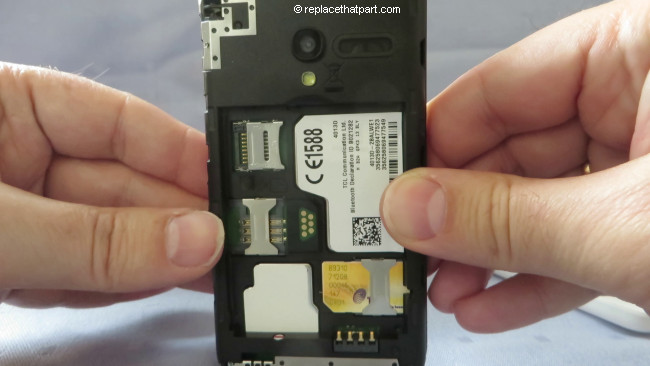
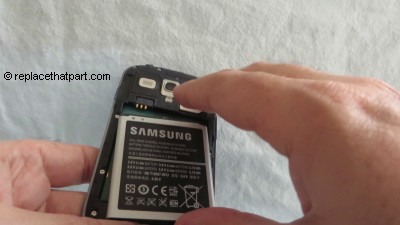
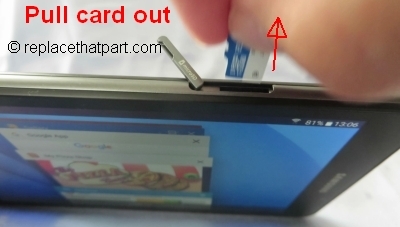
5. Pull the memory card out of the memory card slot. You removable drive is now gone.
6. Close the microSD card cover.